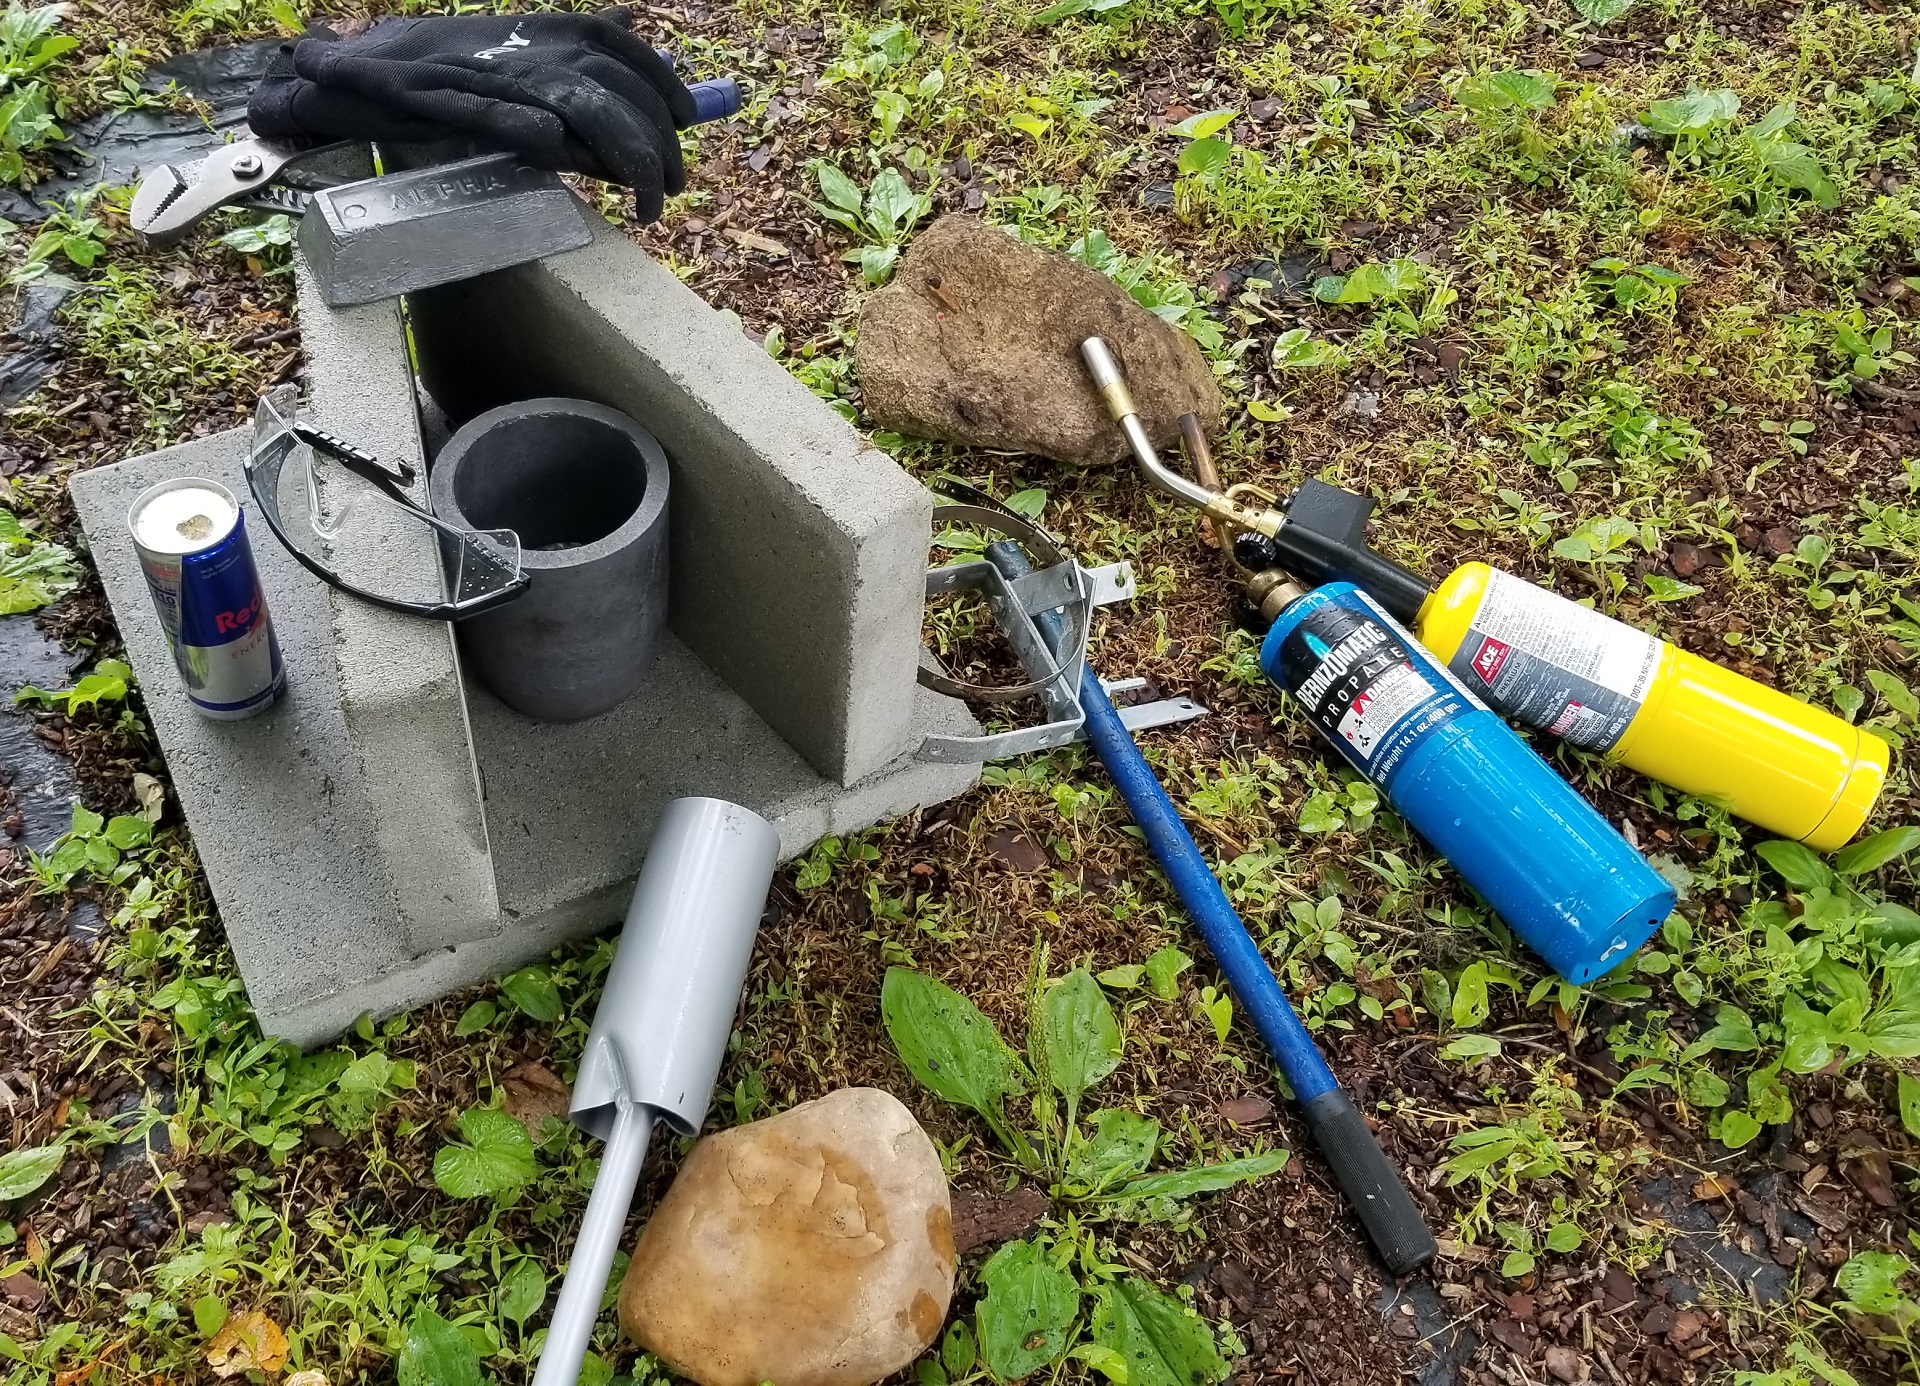
These are the tools I used for the casting process in addition to about 6kg of "soft Lead ingots"
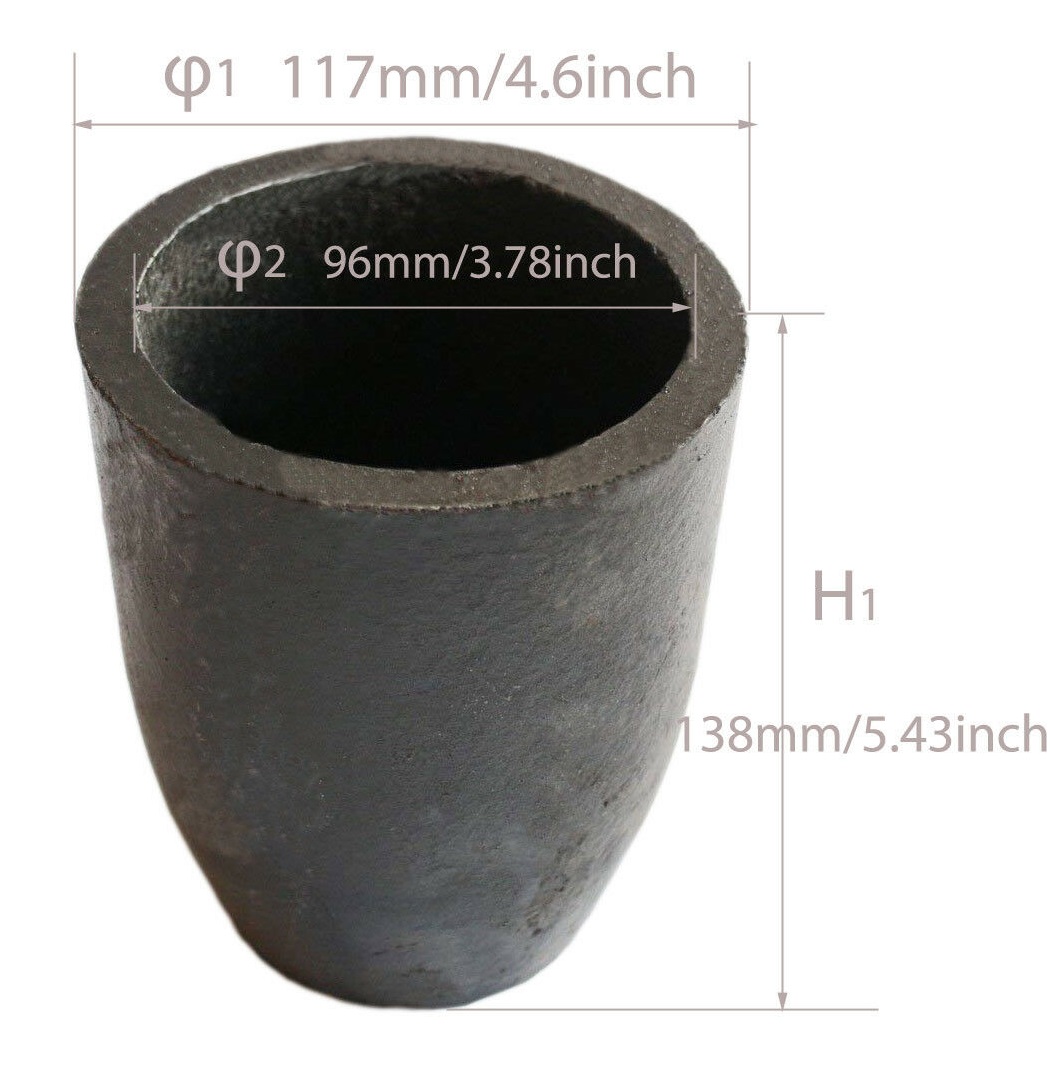
The key component is the "5kg Casting Clay Graphite crucible" purchased on eBay for $30.
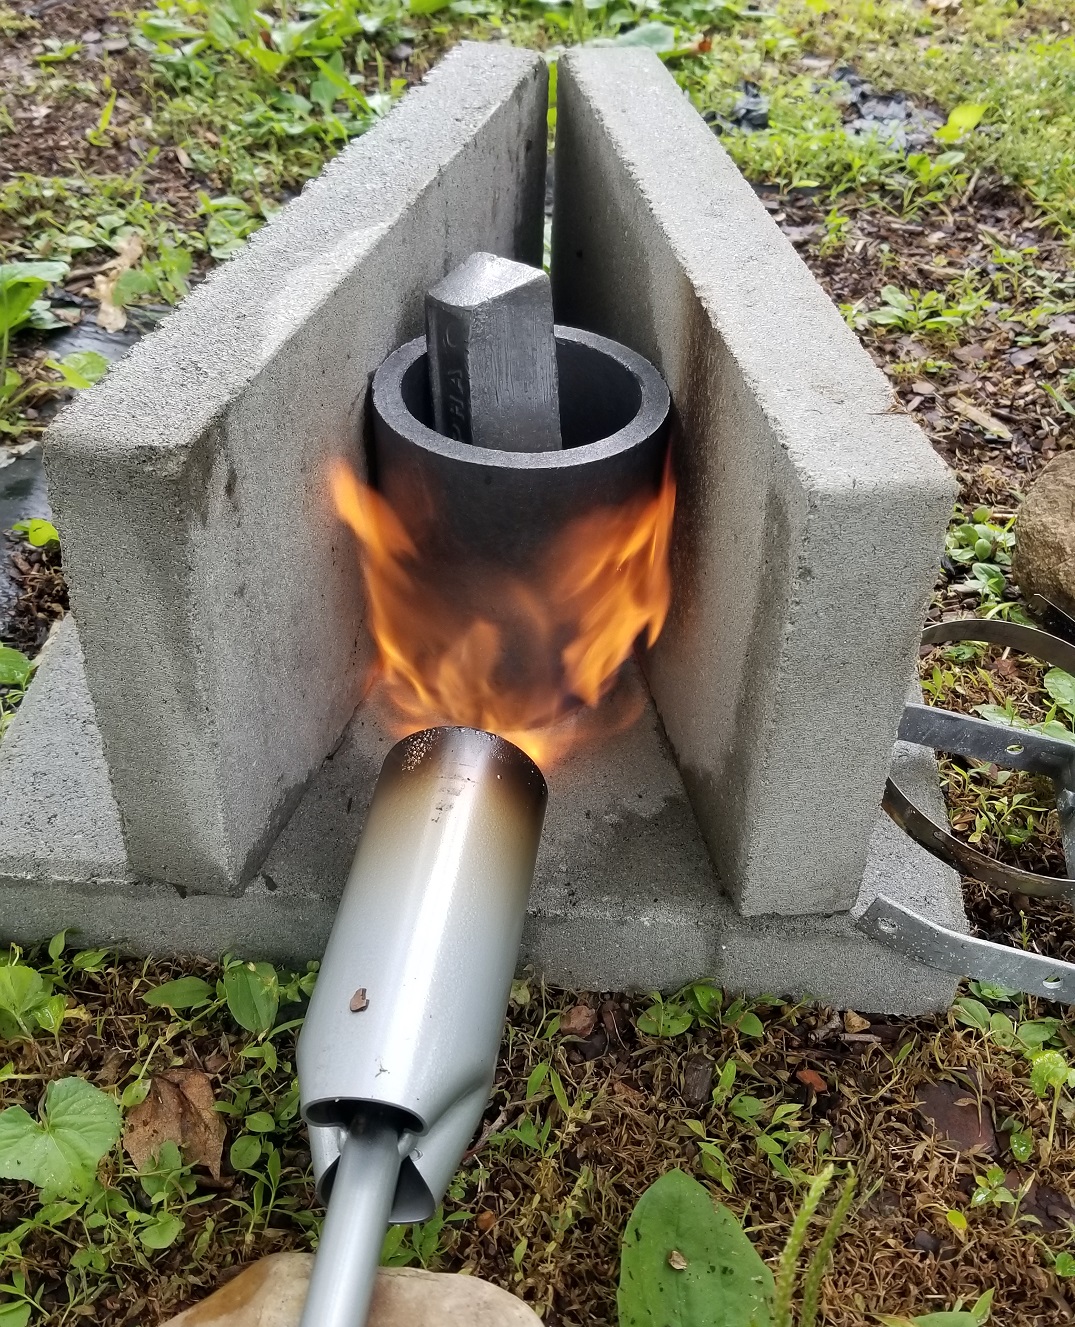
The Lead ingots were melted using a propane "Weed torch". I constructed simple furnace out of concrete blocks. After all of the lead melted, I removed the floating oxides with a steel spoon and turned off the flame. The crucible keeps the lead as liquid for at least 7-8 min with no flame so there was a plenty of time to work with it.
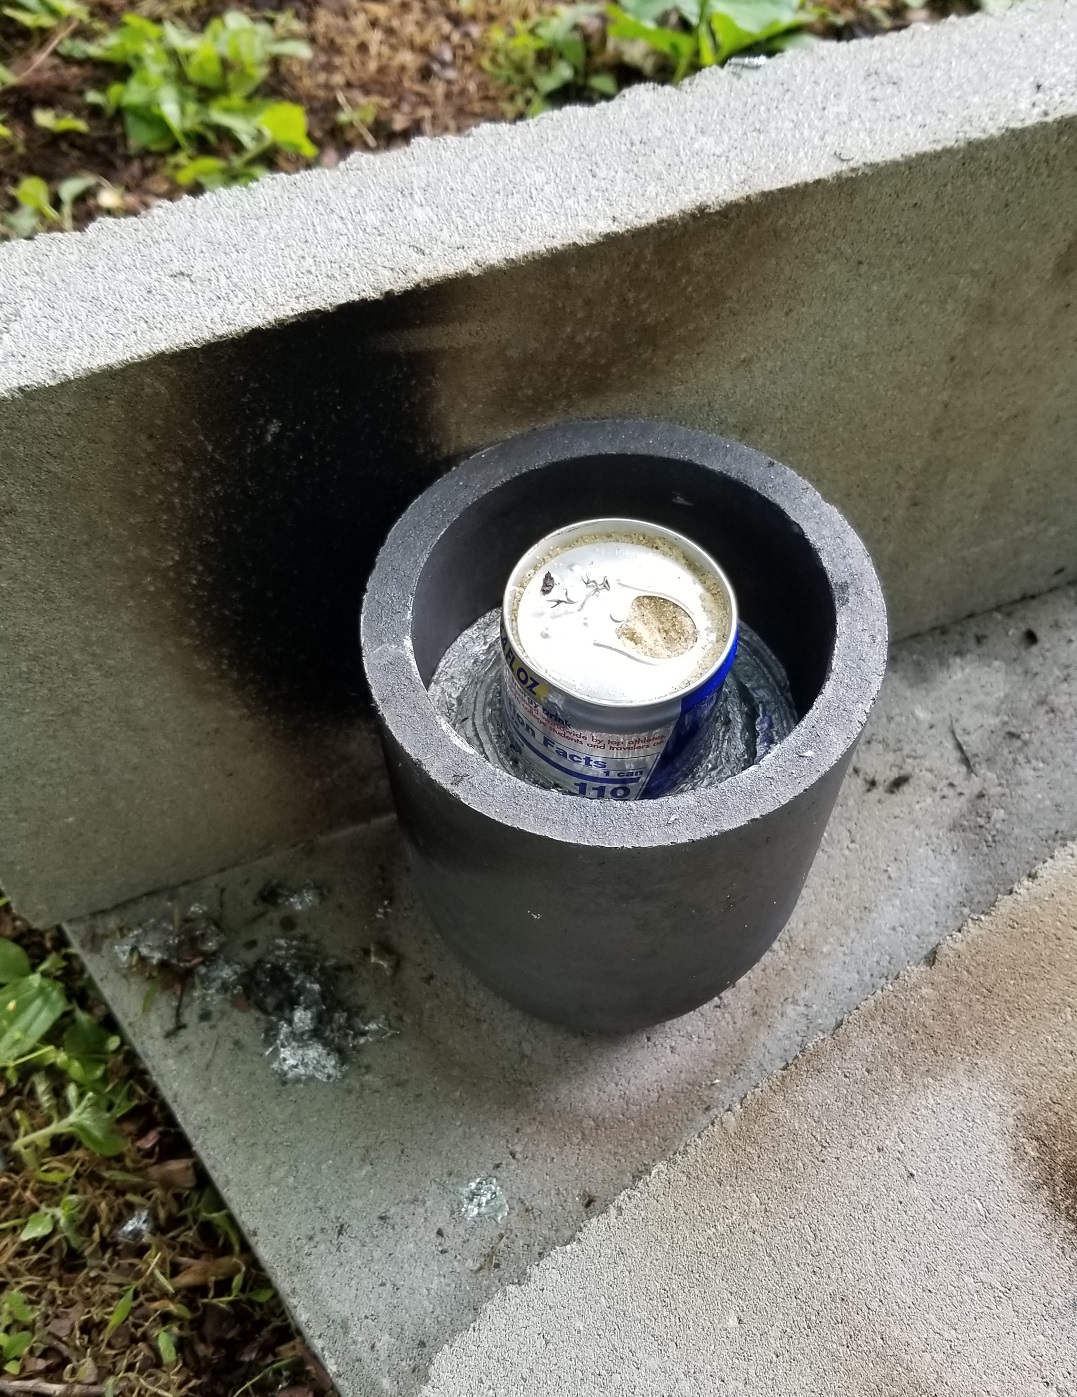
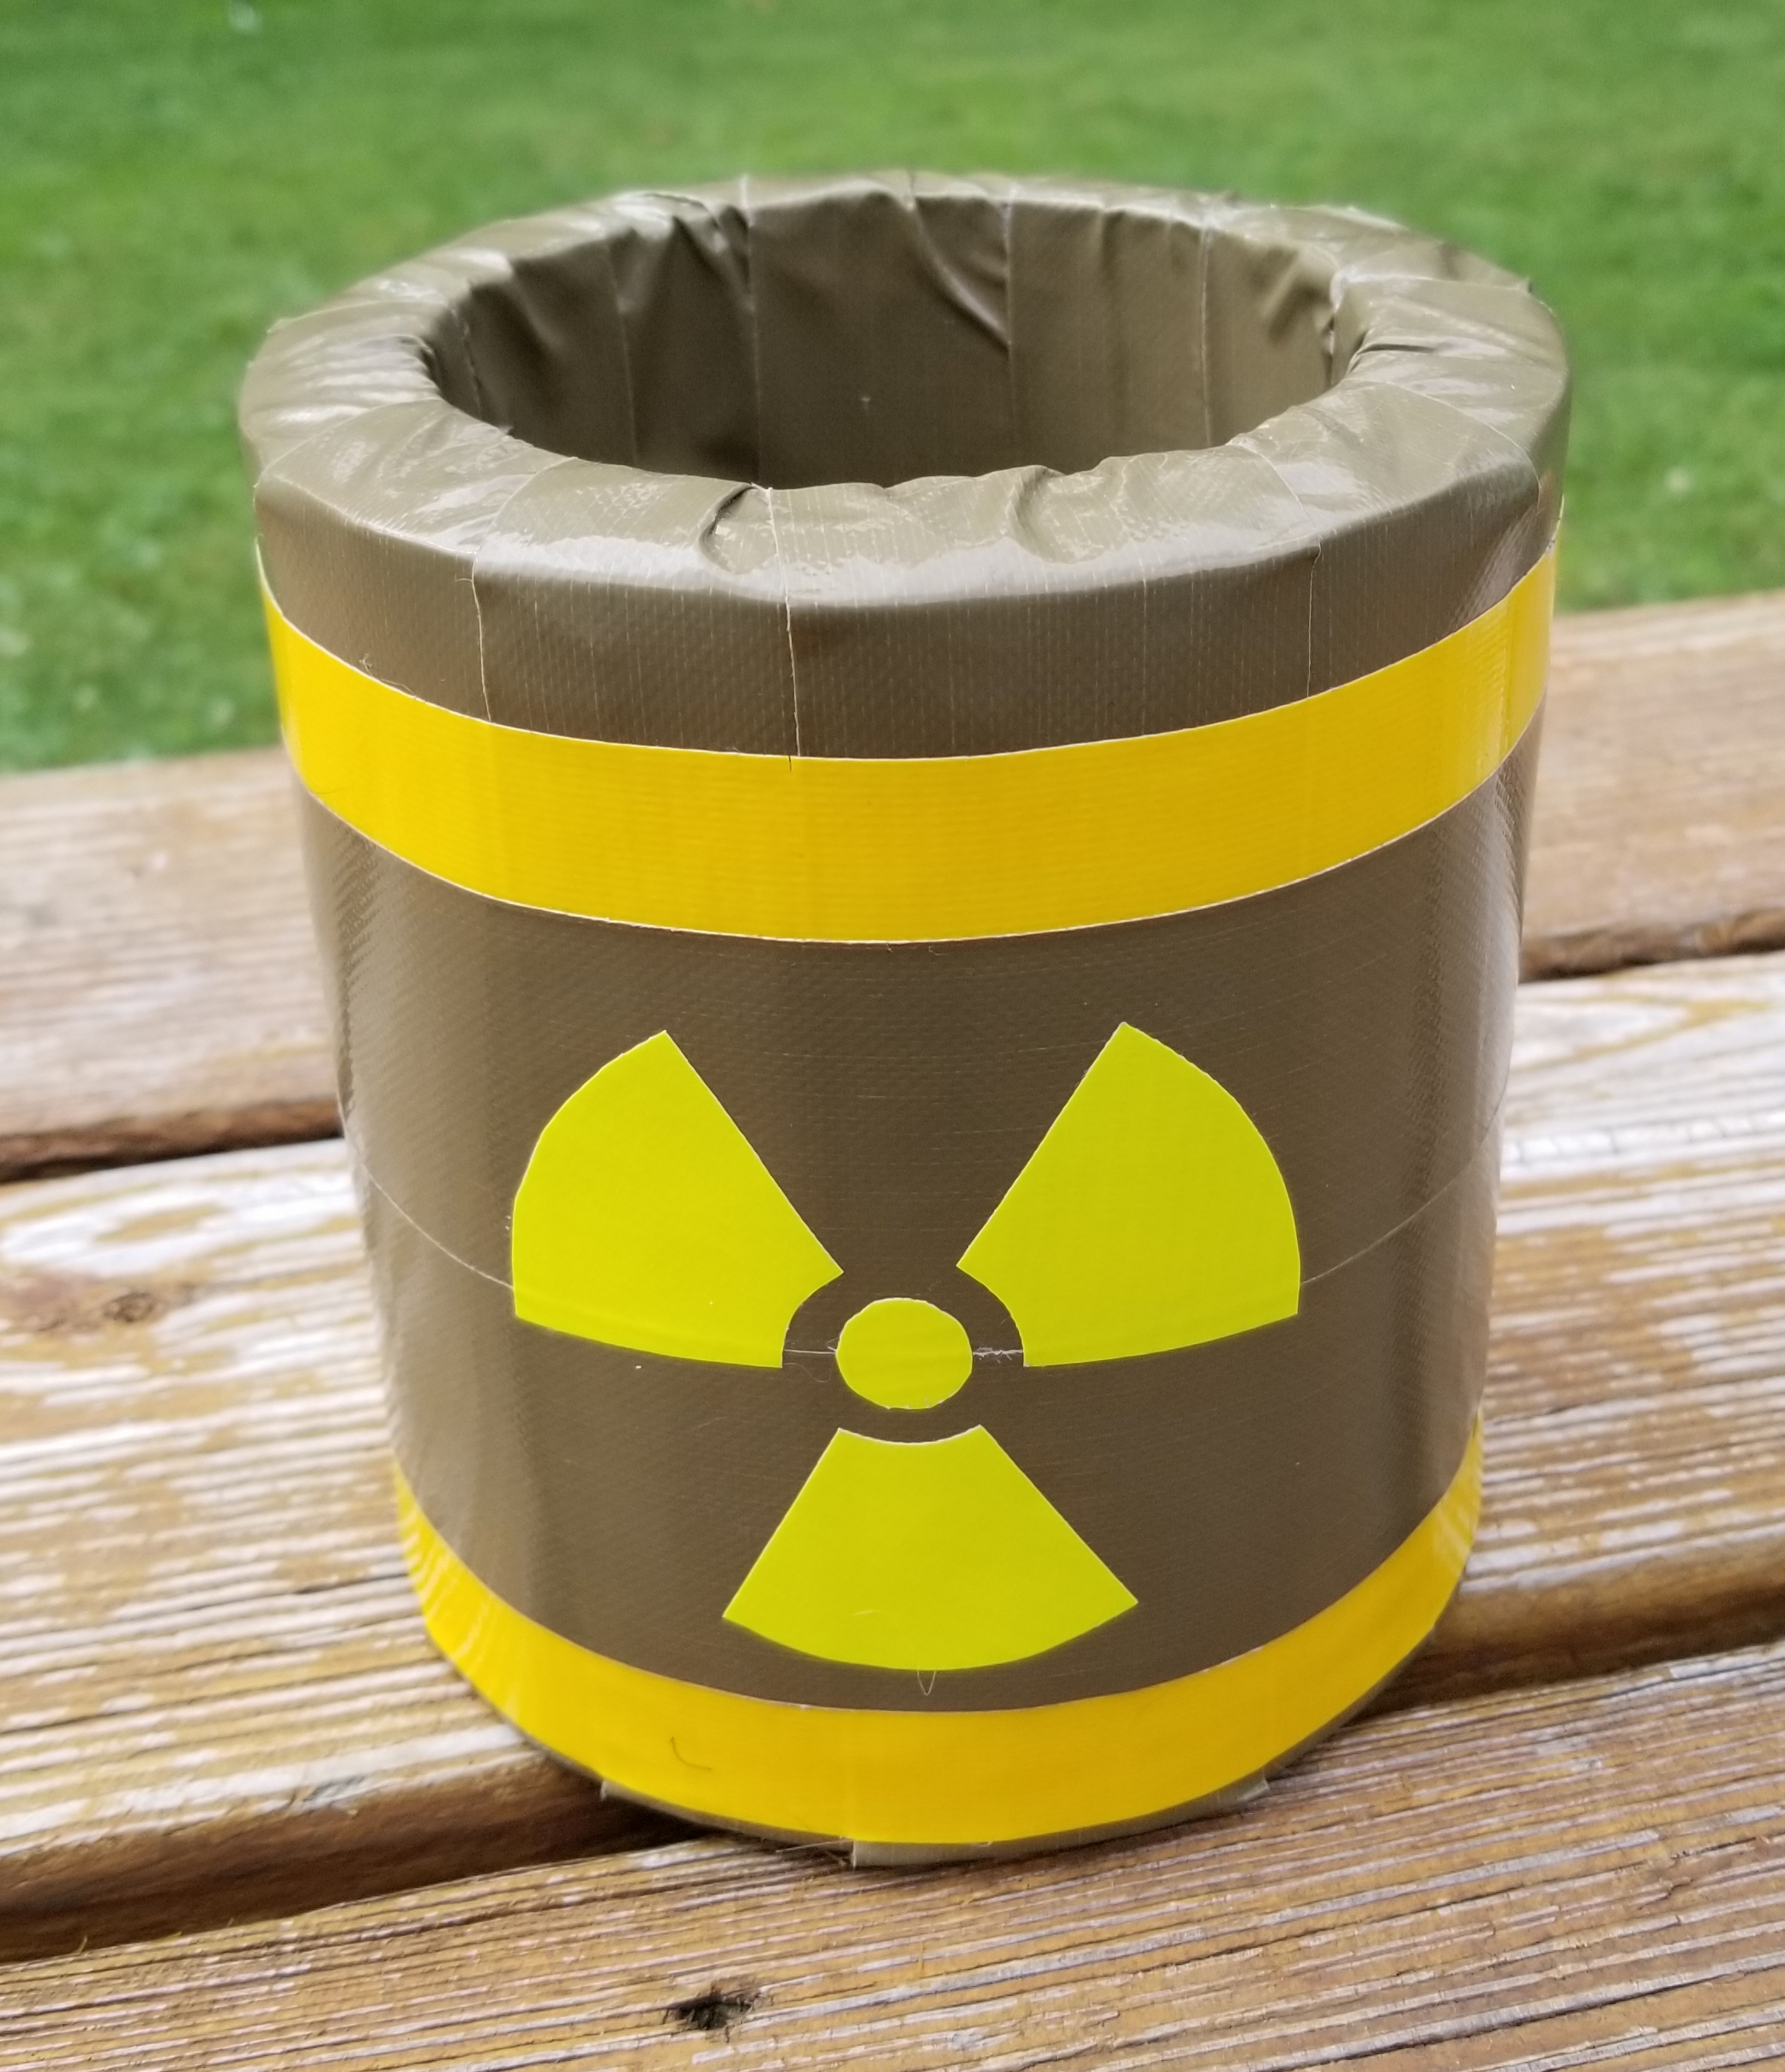
To make the opening for the probe, I used an 8oz can of Red Bull, tightly packed with fine sand and clay. The can was inserted and centered into the molten Lead and held in place until the Lead solidified. A word of caution (aside from the dangers of working with a large volume of molten metal :) - nearly everything floats in molten lead so inserting the can all the way to the bottom of the crucible, centering it and holding it in place until the lead cools down - all, while fighting with the can's buoyancy was a bit of a chore - thick casting gloves and a steel rod helped a lot. (it took 2 attempts until I got it right in terms of procedure and Lead quantity). The bottom of the aluminum can had to be submerged initially at an angle to allow the air to escaped from the concave cavity. This picture is from my first attempt - l kept this first cast and turned it into a "lead pig".
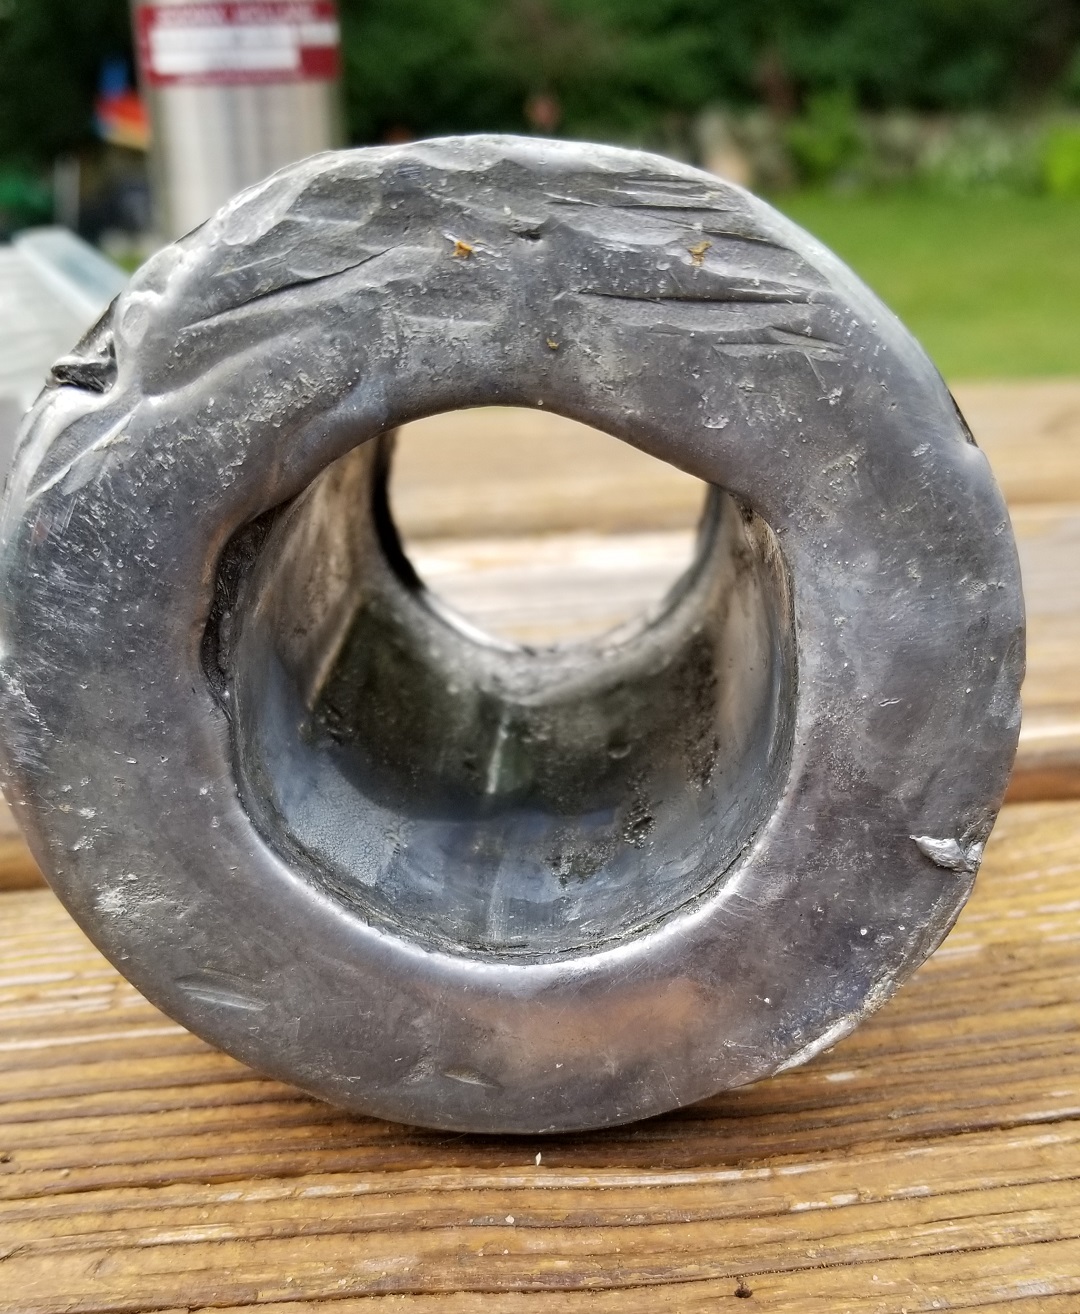
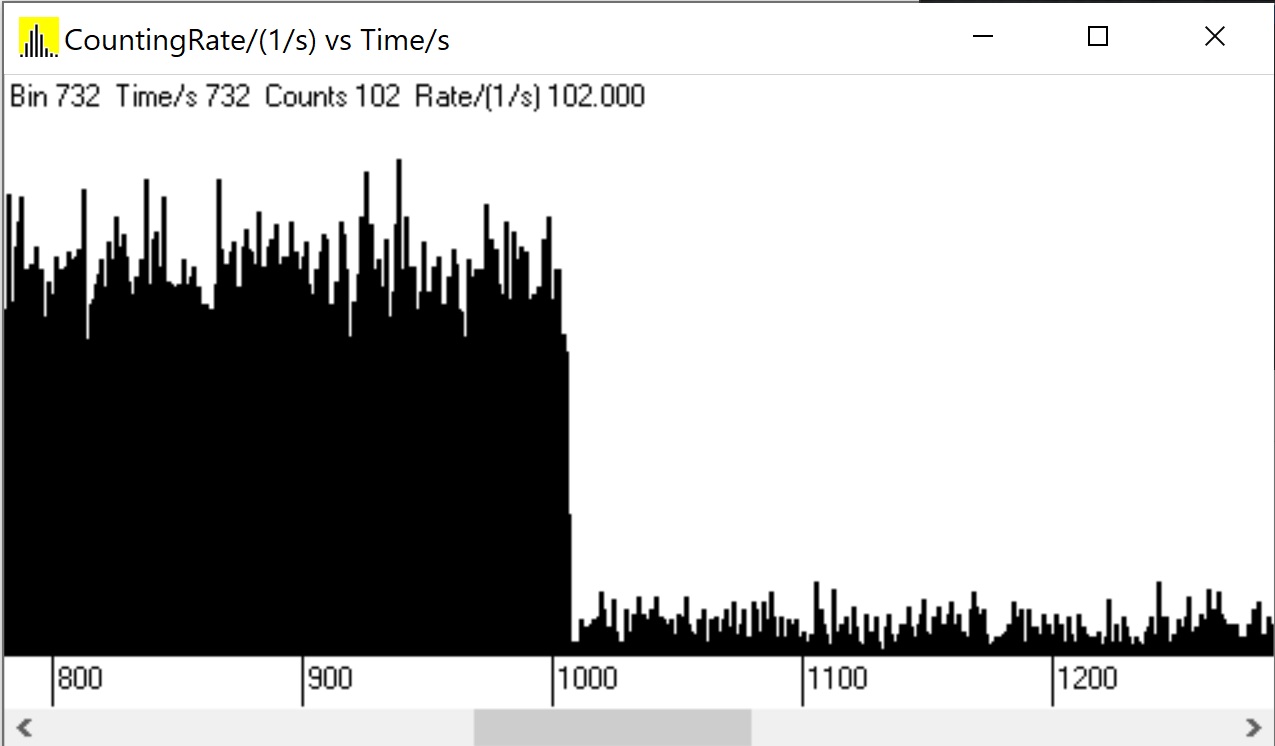
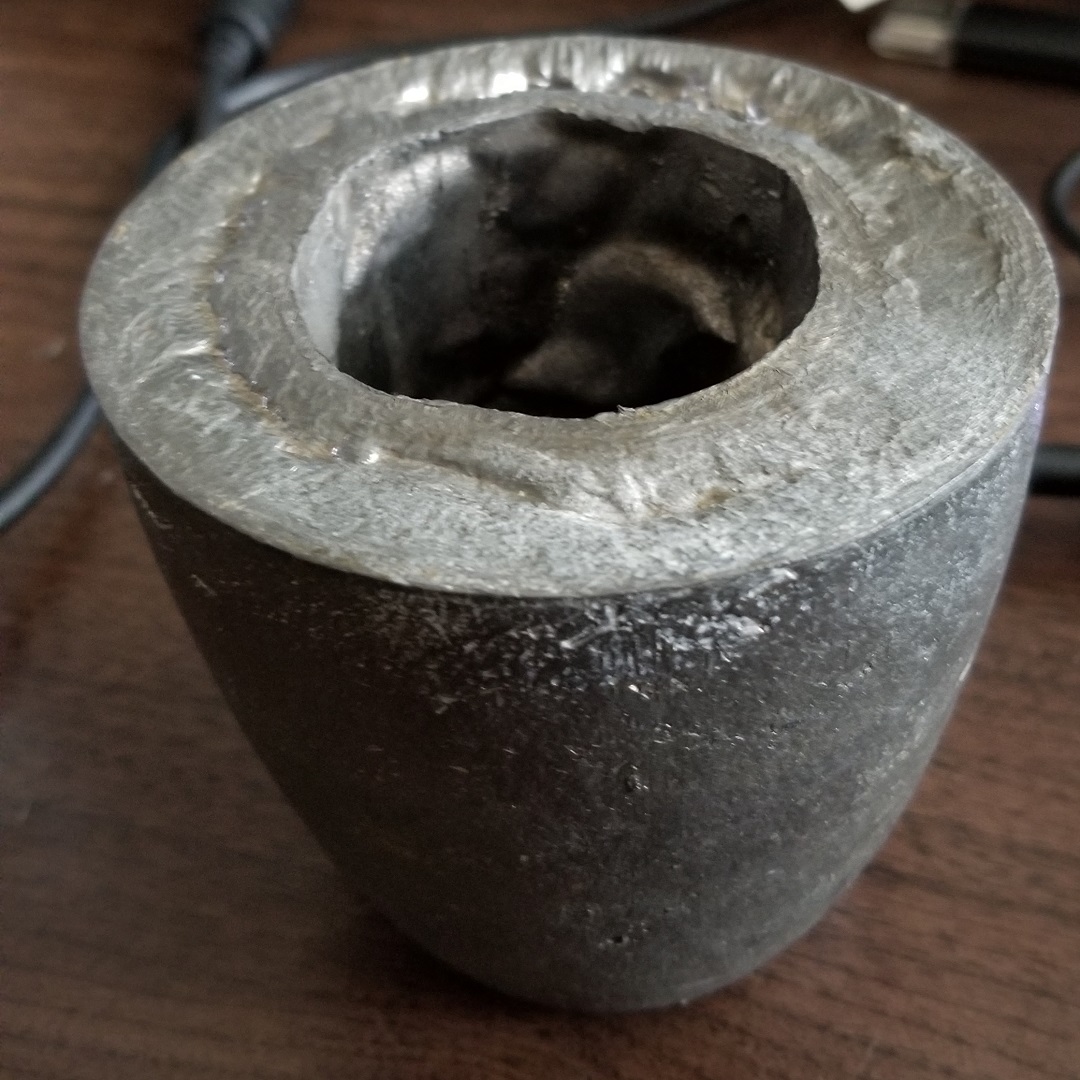
The cast shield, after emptying the can of sand and peeling it off the internal wall of the cast. A few taps with a small hammer punched the hole where the bottom of the can was - the lead was super thin due to the concave can bottom and it worked perfectly.
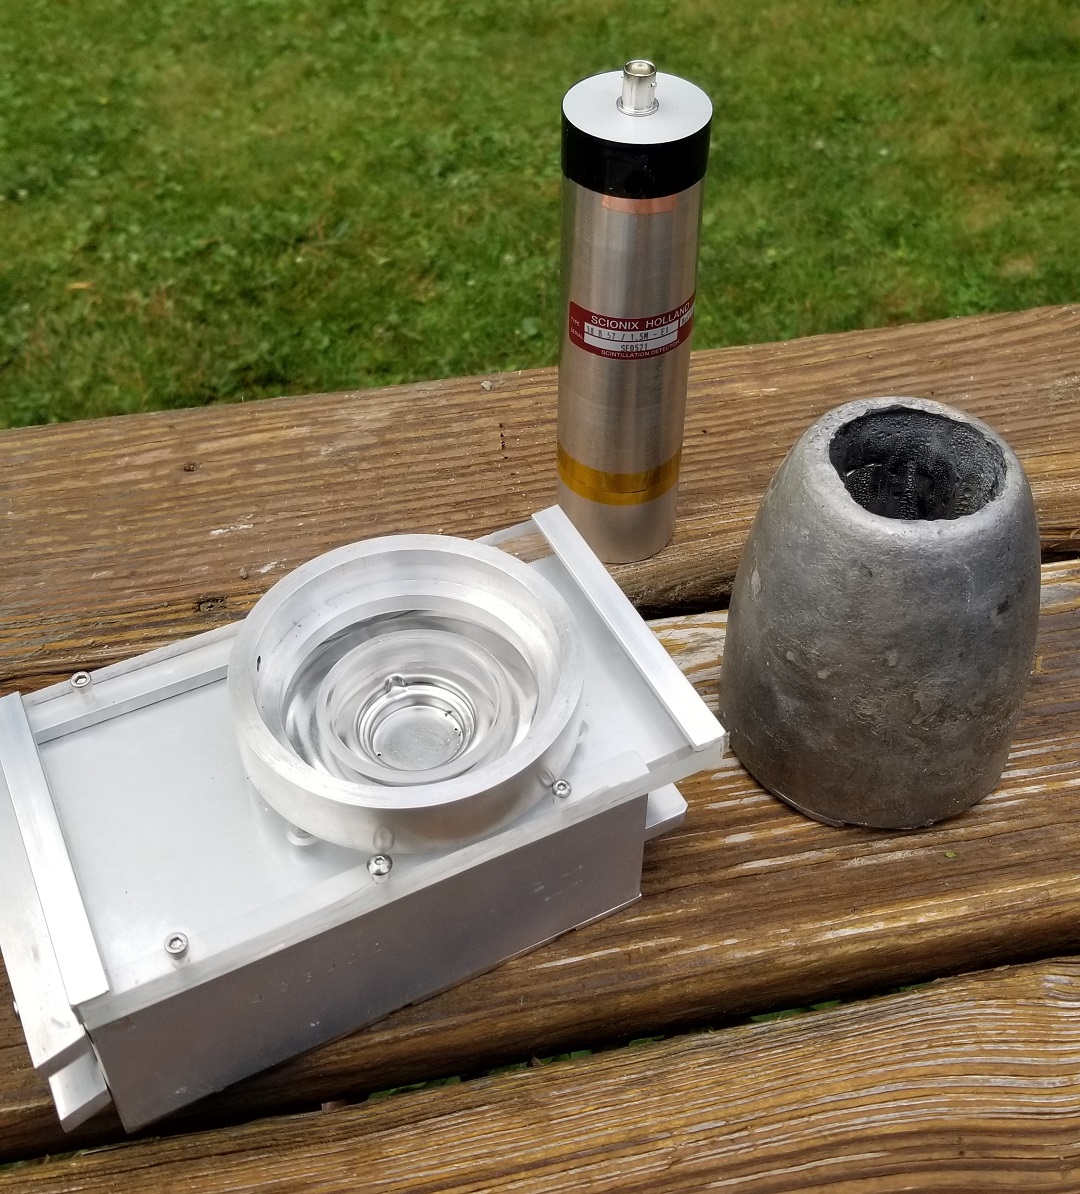
The thickness of the shield wall where the crystal of the probe resides is more than 22mm and it tapers off (after about 60mm height) to 6mm wall thickness at the very top.
As the lead cools down, it shrinks before solidifying, leaving an uneven void on the top of the cast. I used a propane torch to melt another 500g ingot and "top it off" filling all of the gaps and smoothing it out while the cast was fairly hot.
All it took is just a few gentle taps for the cast to come out of the graphite crucible and the result is nearly perfect!
The inside diameter is 55mm and overall height is 110mm (the dimensions of the crucible would have probably allowed me to add yet another 10mm of height)
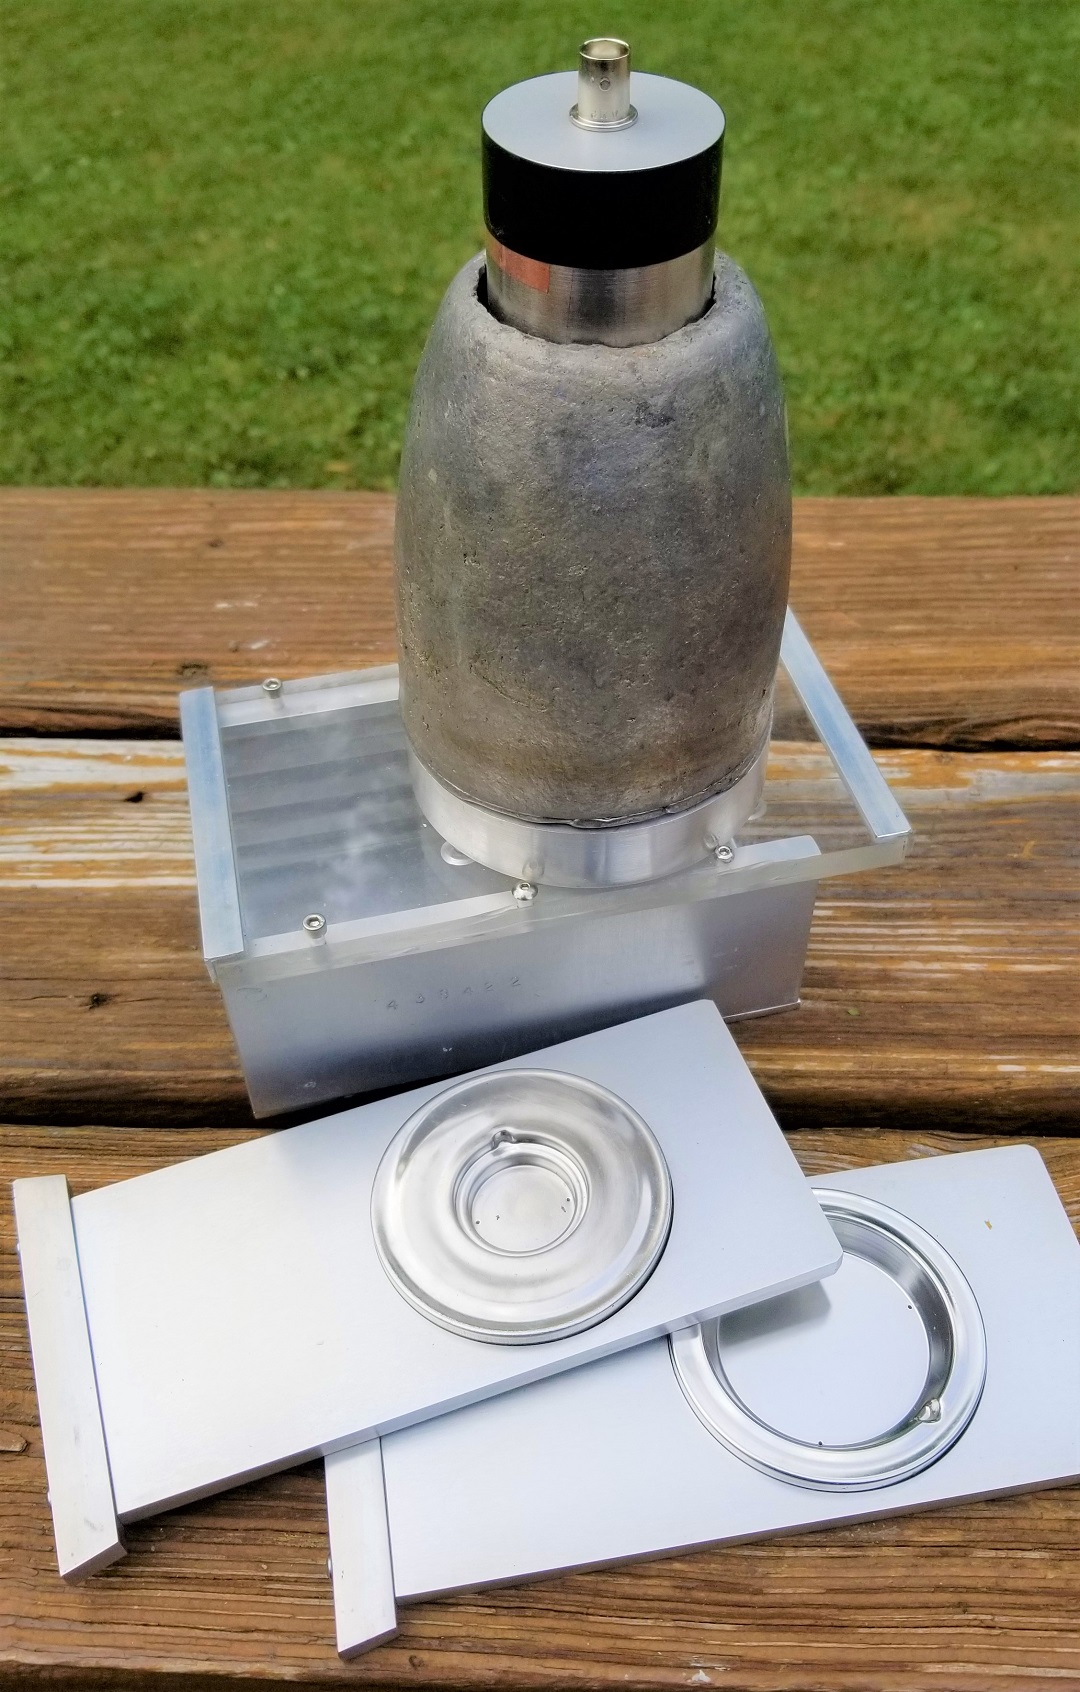
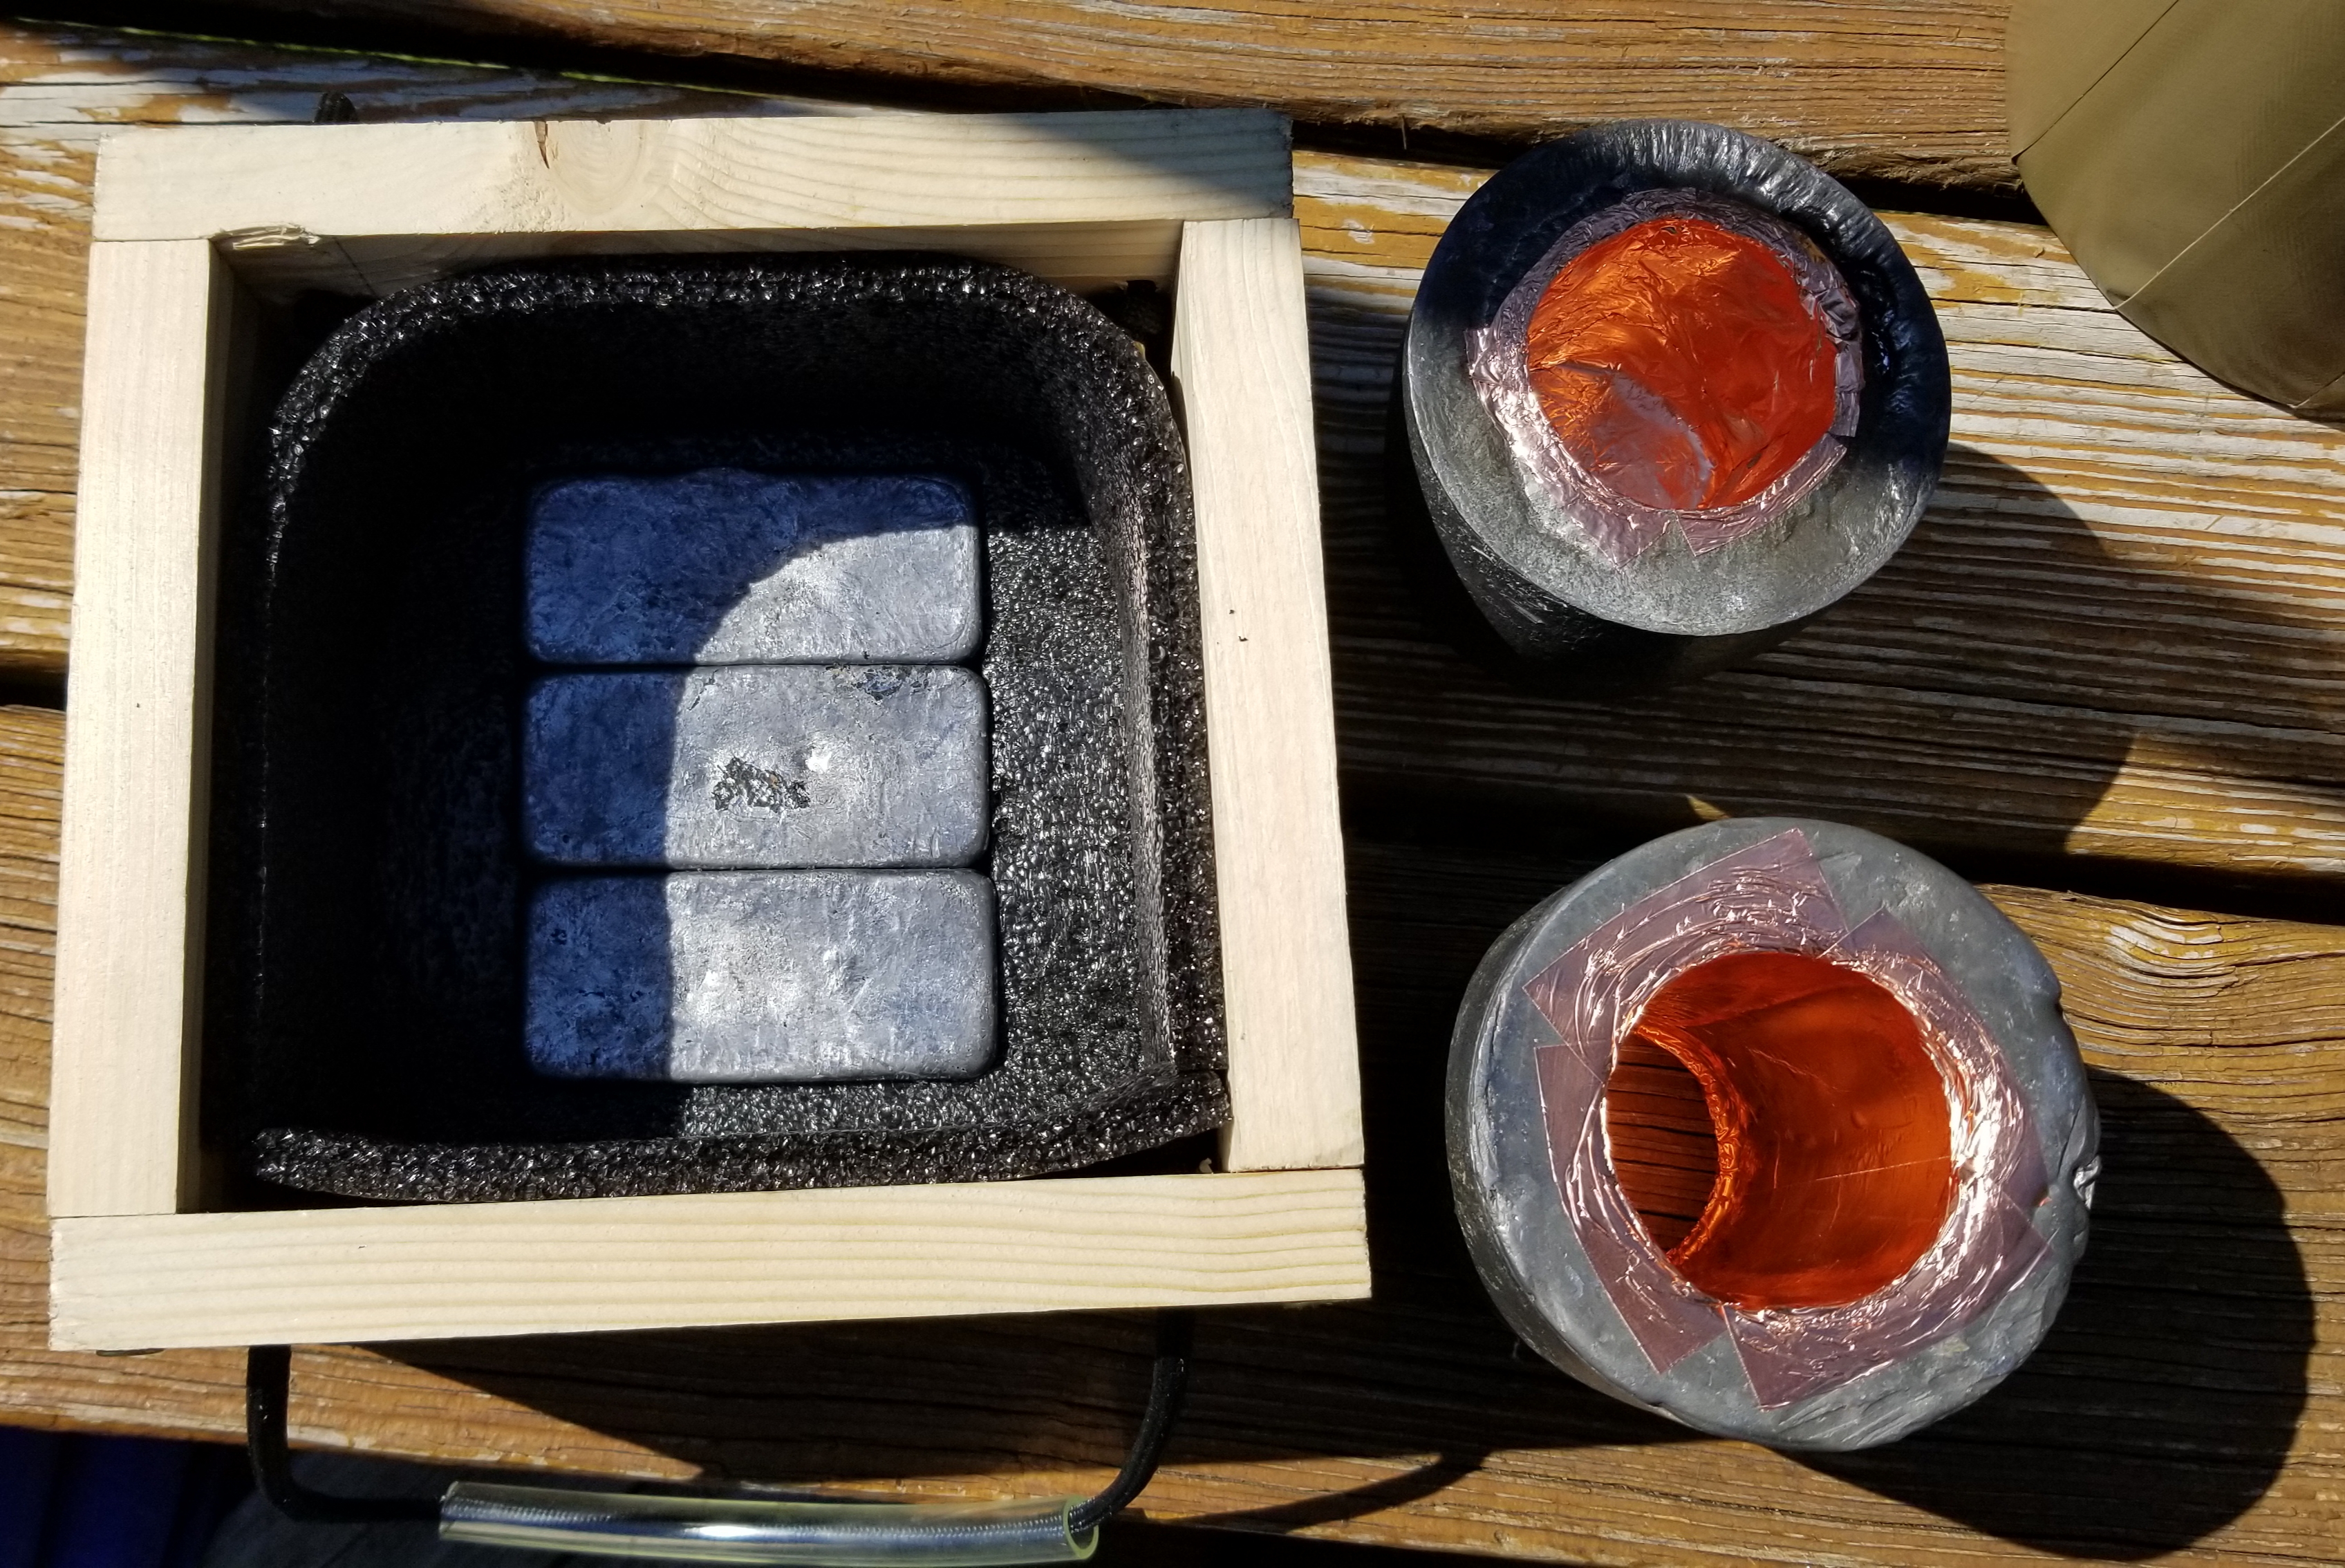
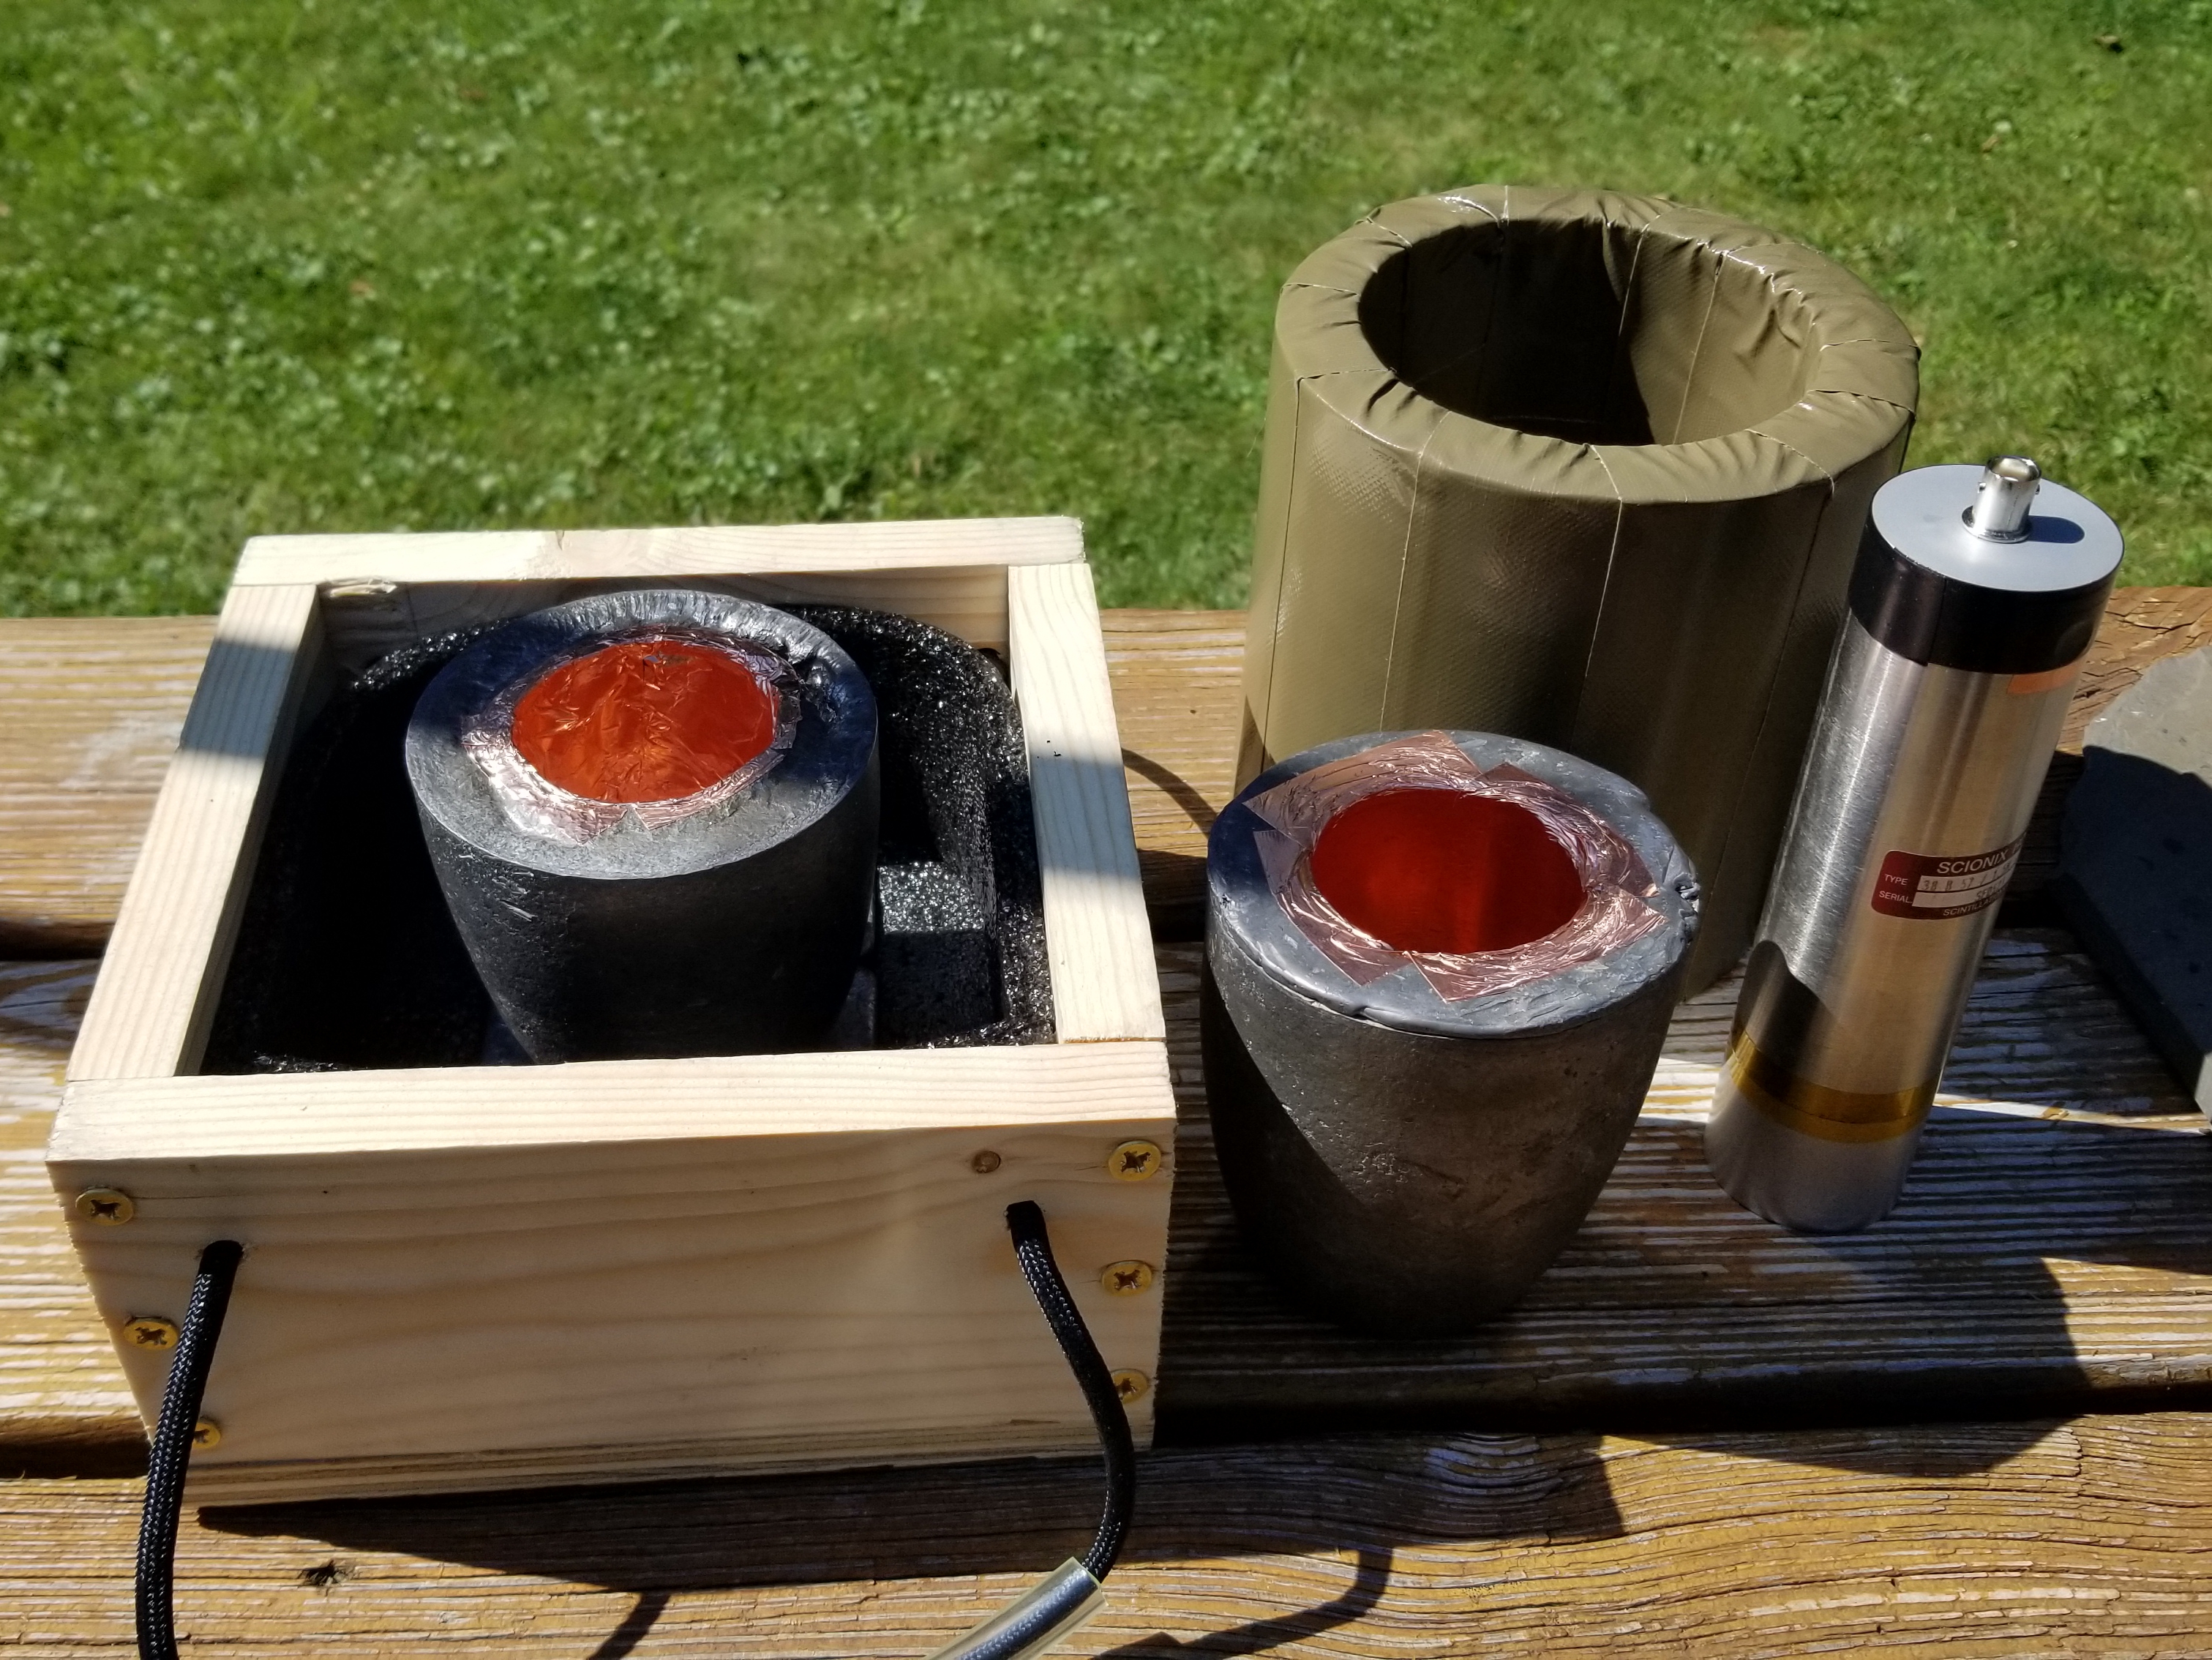
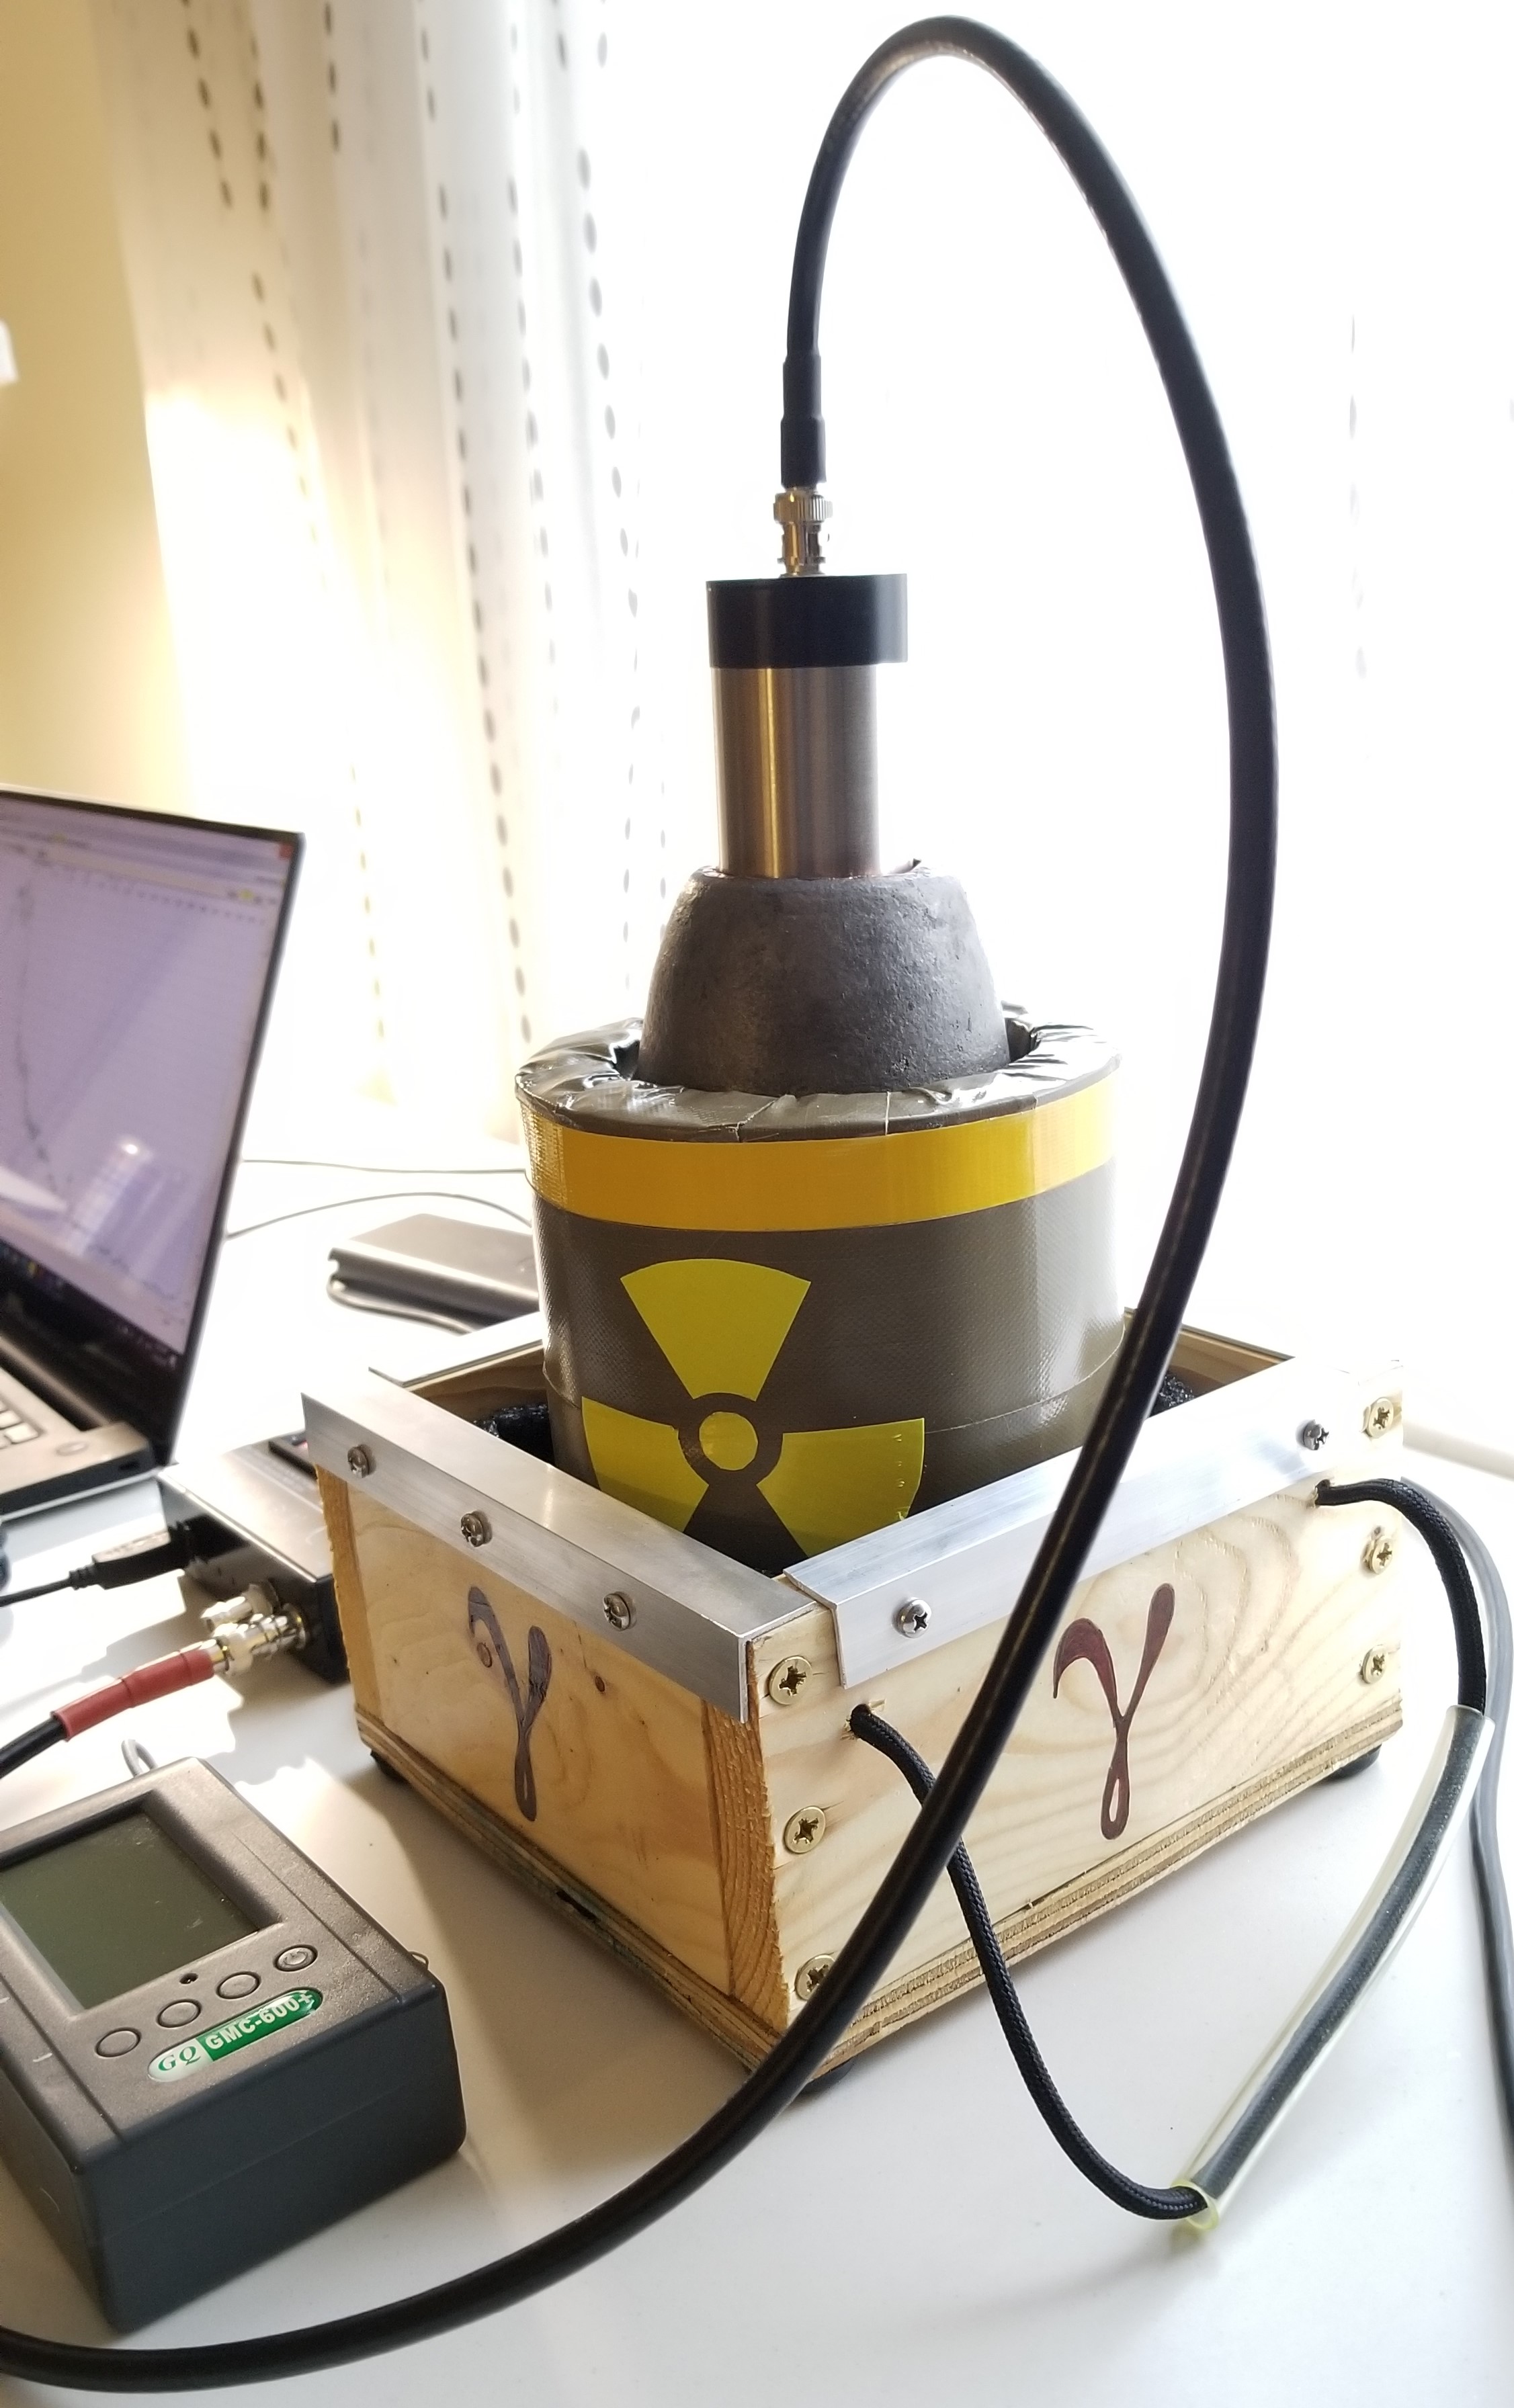
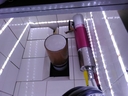
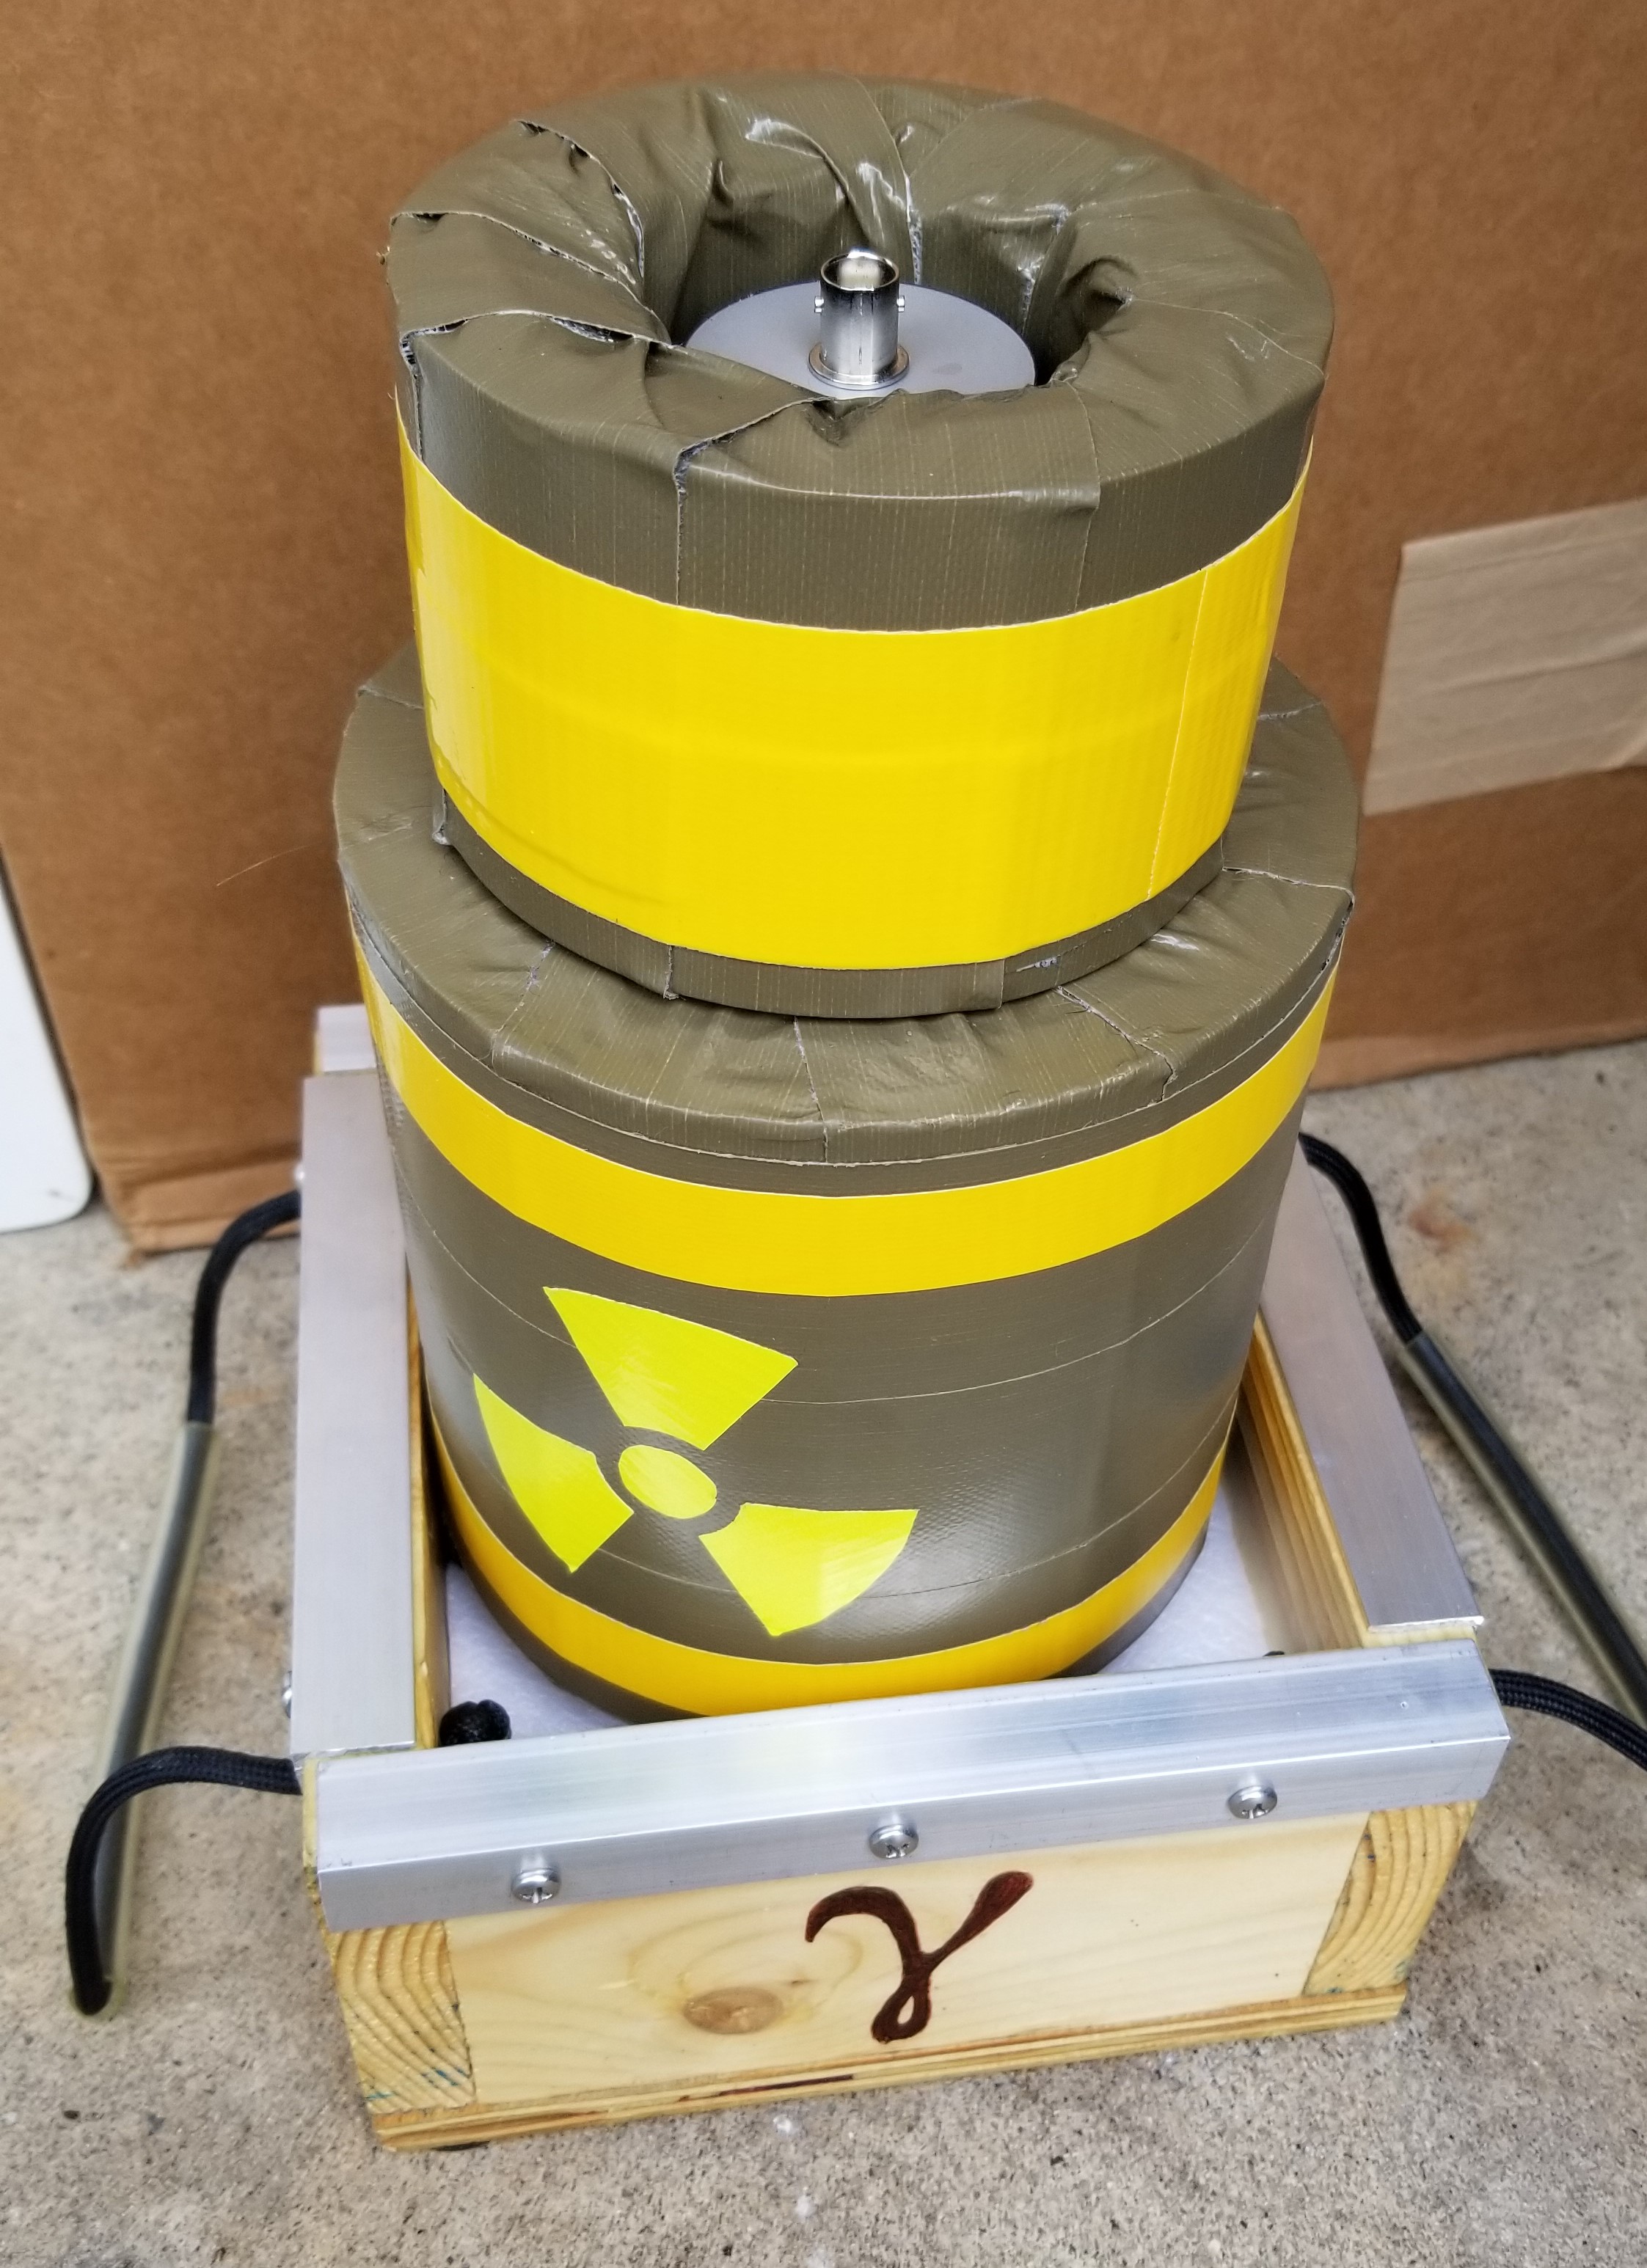
Here is the shield, in place on top of the sample holder.
The outside diameter of the shield matches perfectly the aluminum flange of my sample holder. I'll be using a strip of rolled lead sheet (1/8" thinkness) as a 25mm thick "collar" overlapping the aluminum flange and the bottom 50mm of the main shield.
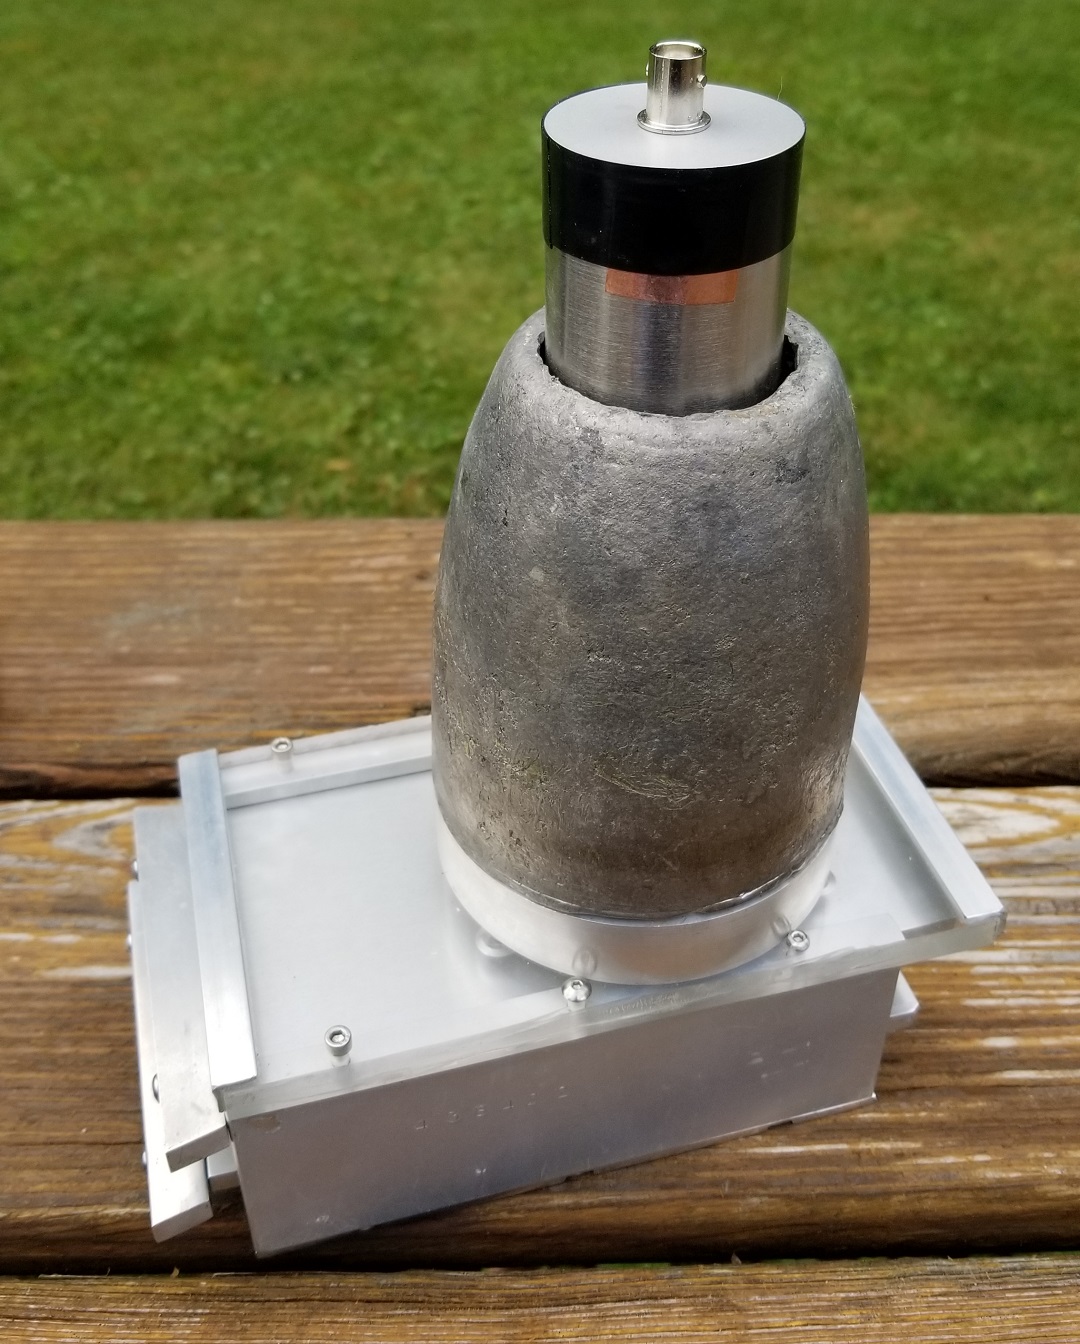
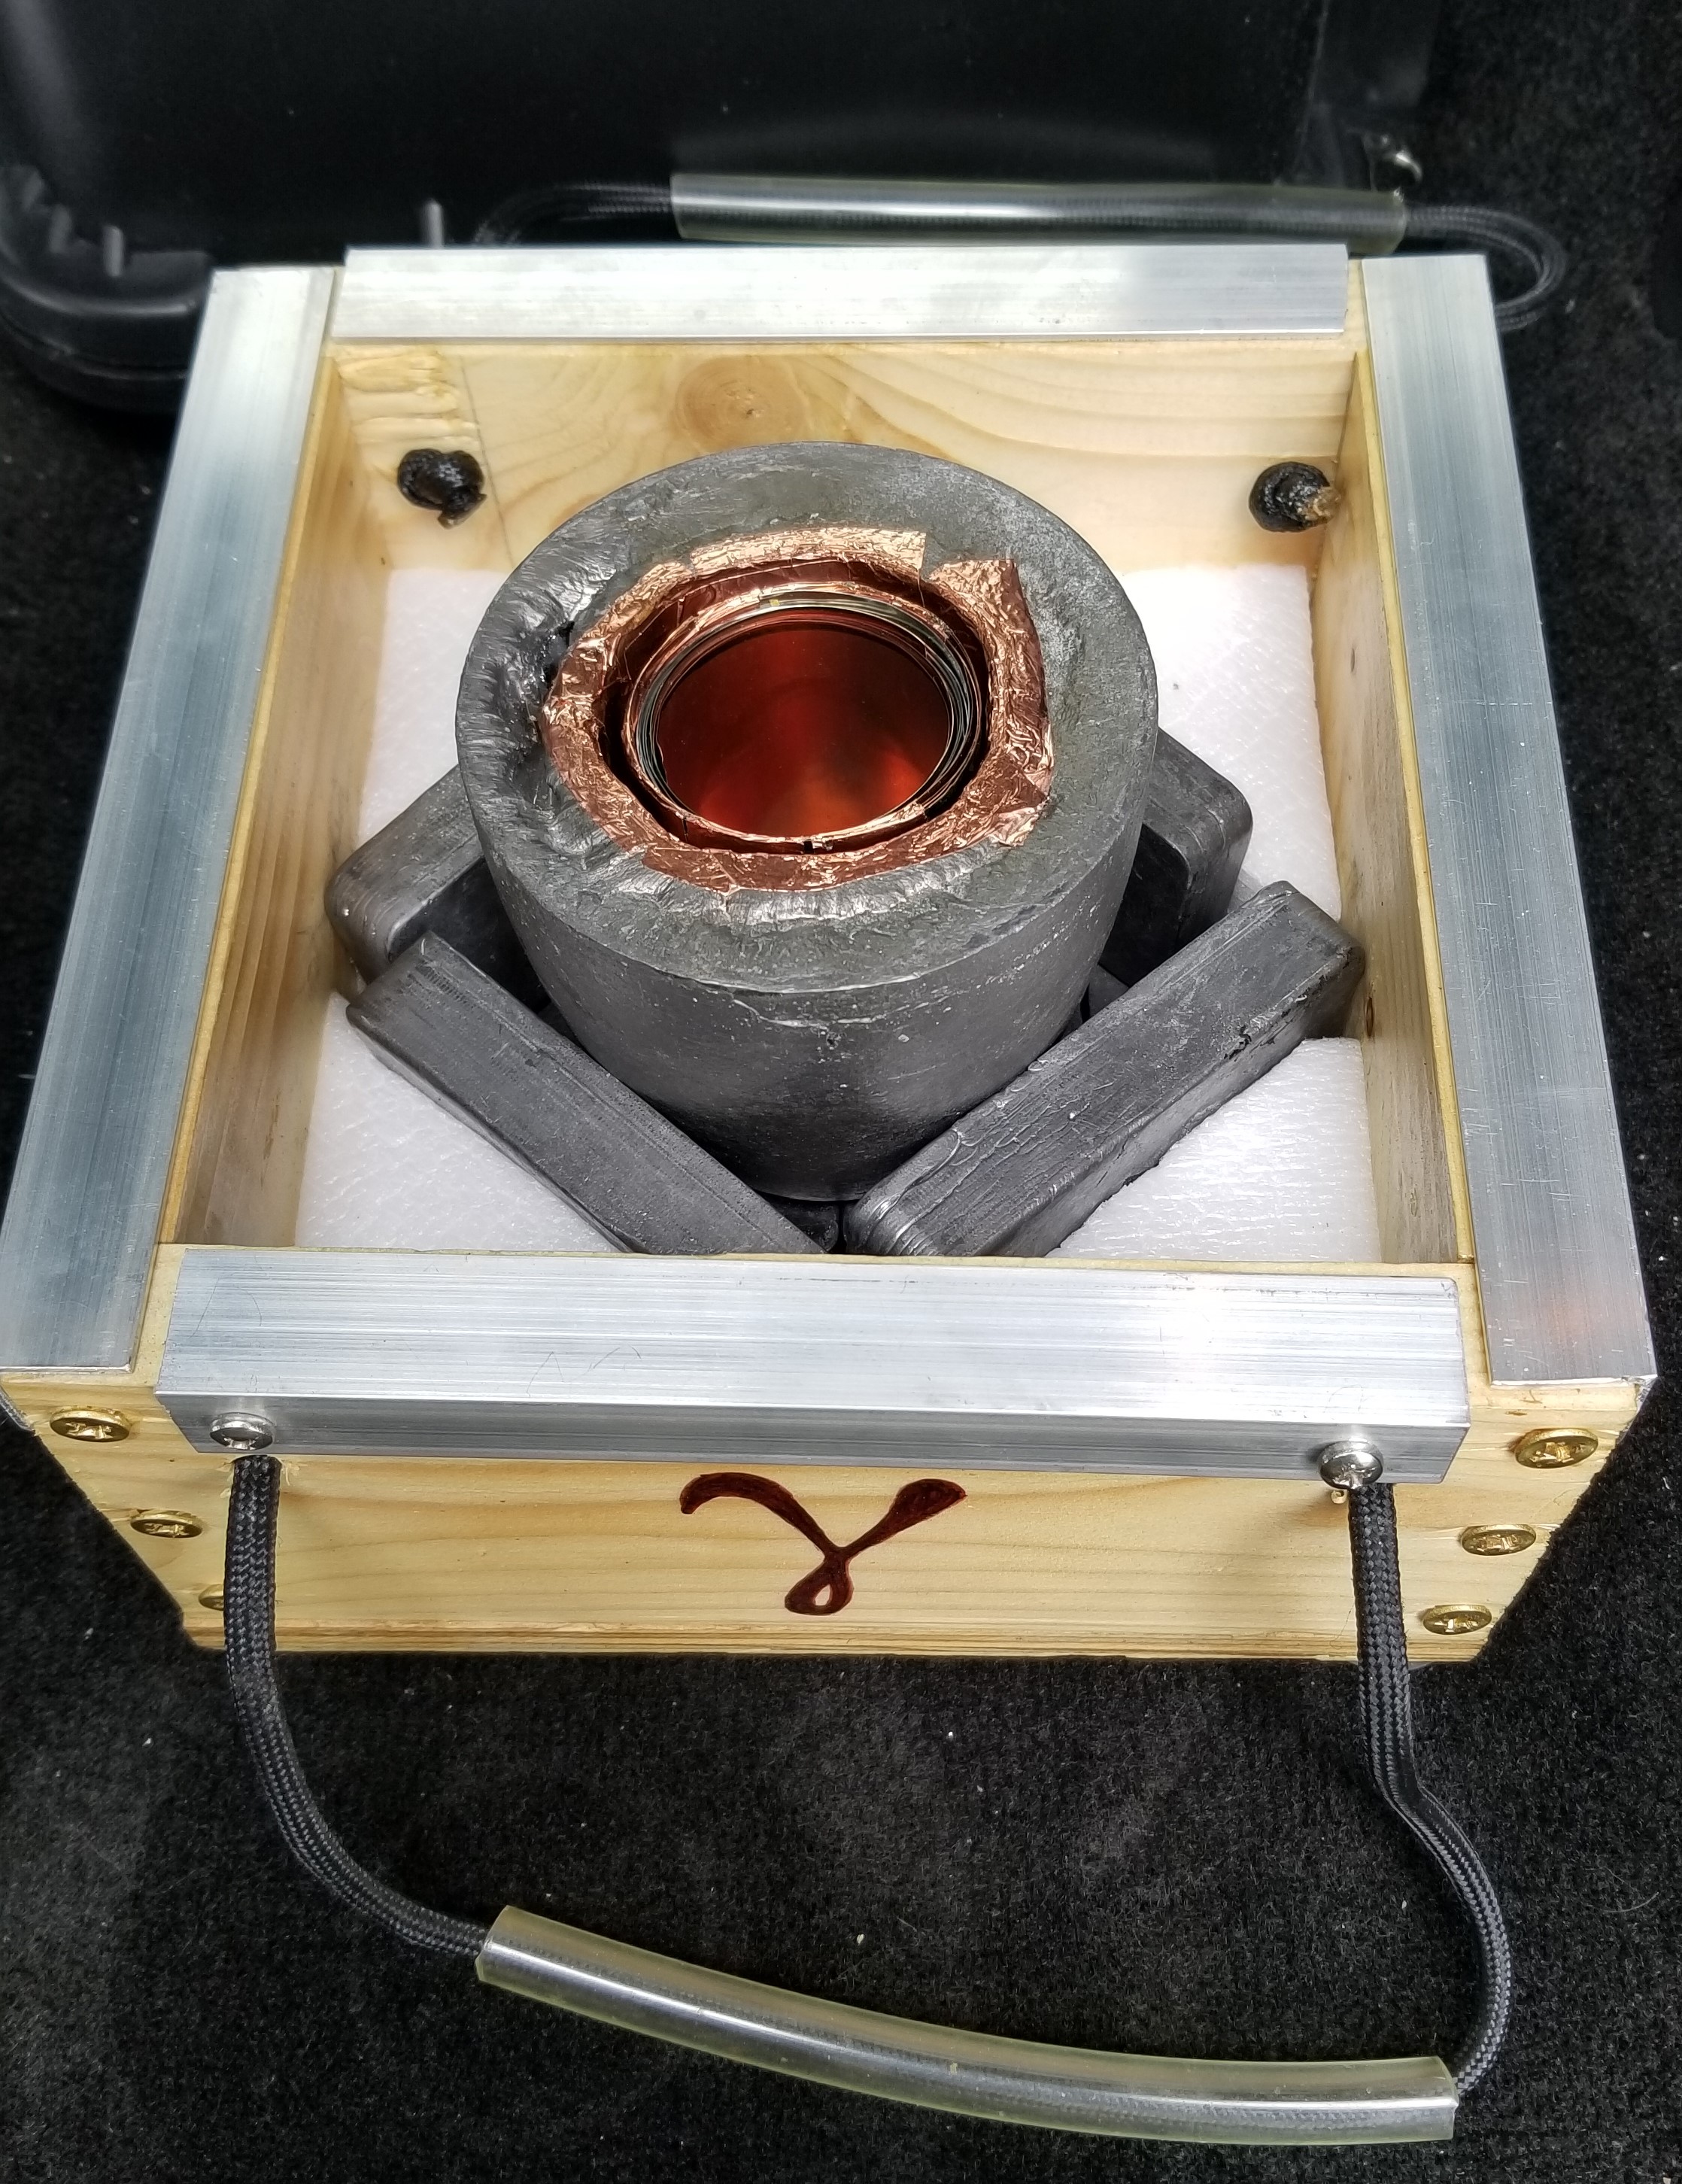
This is the final result.
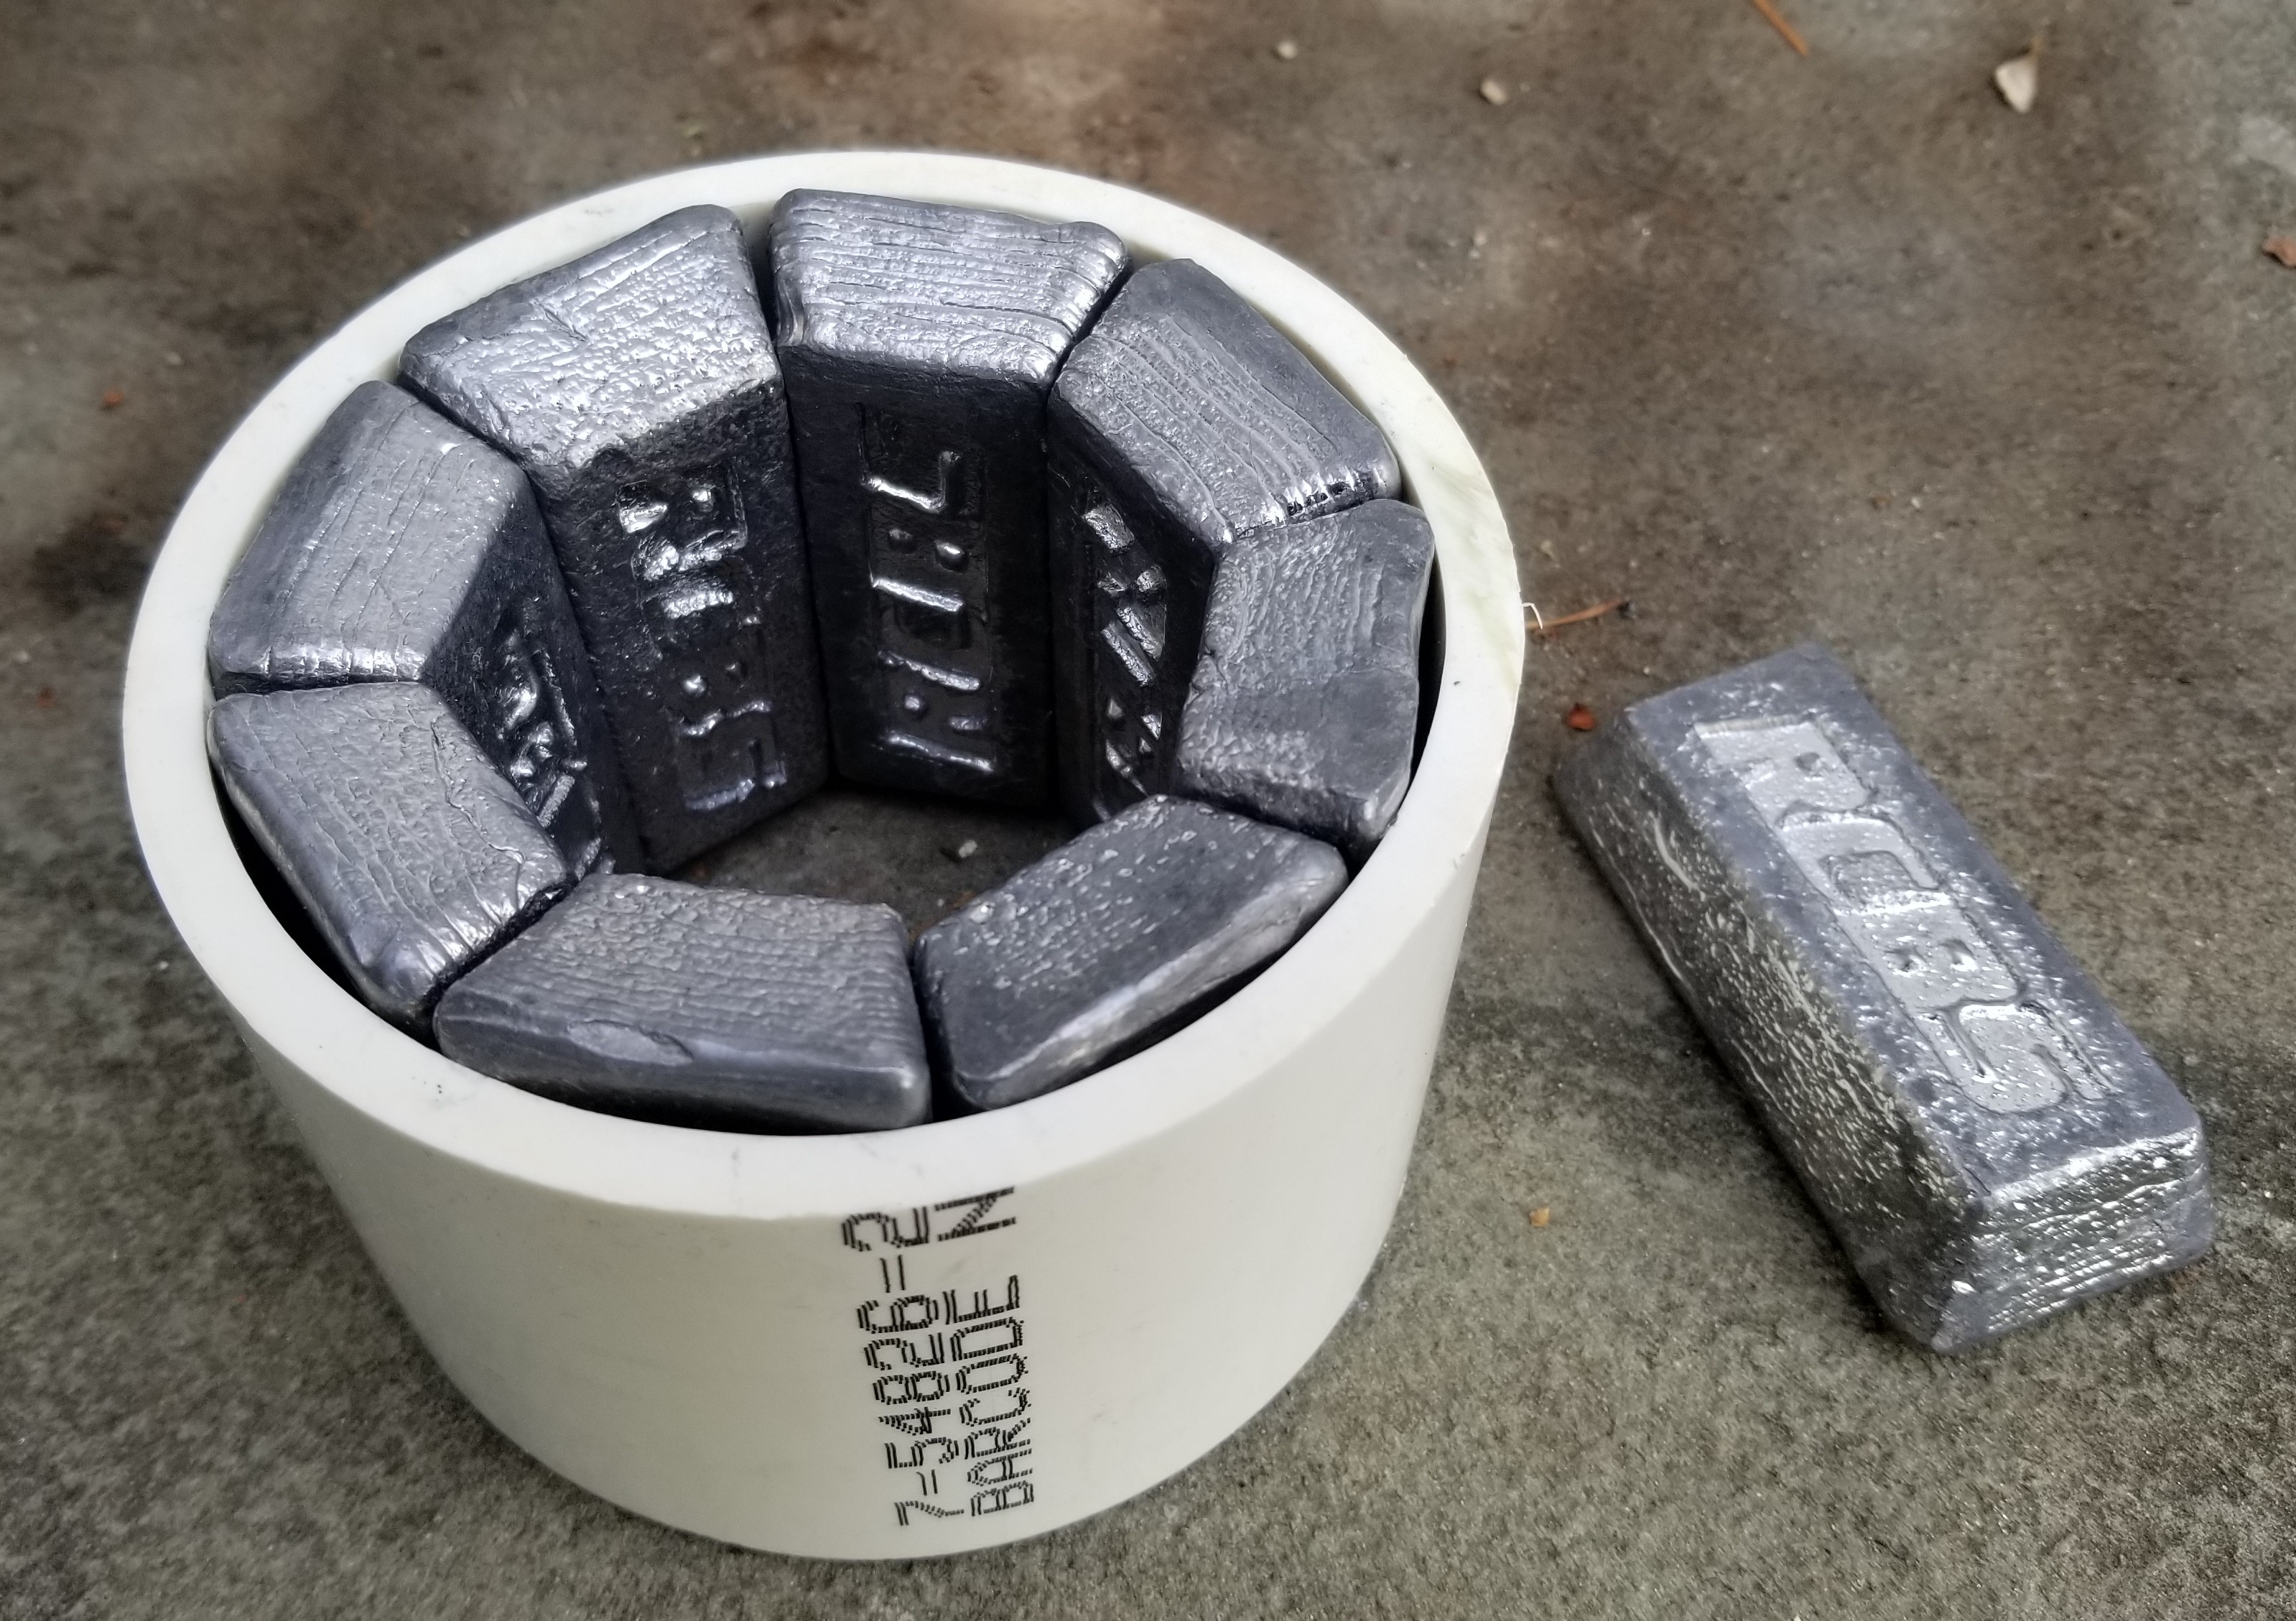
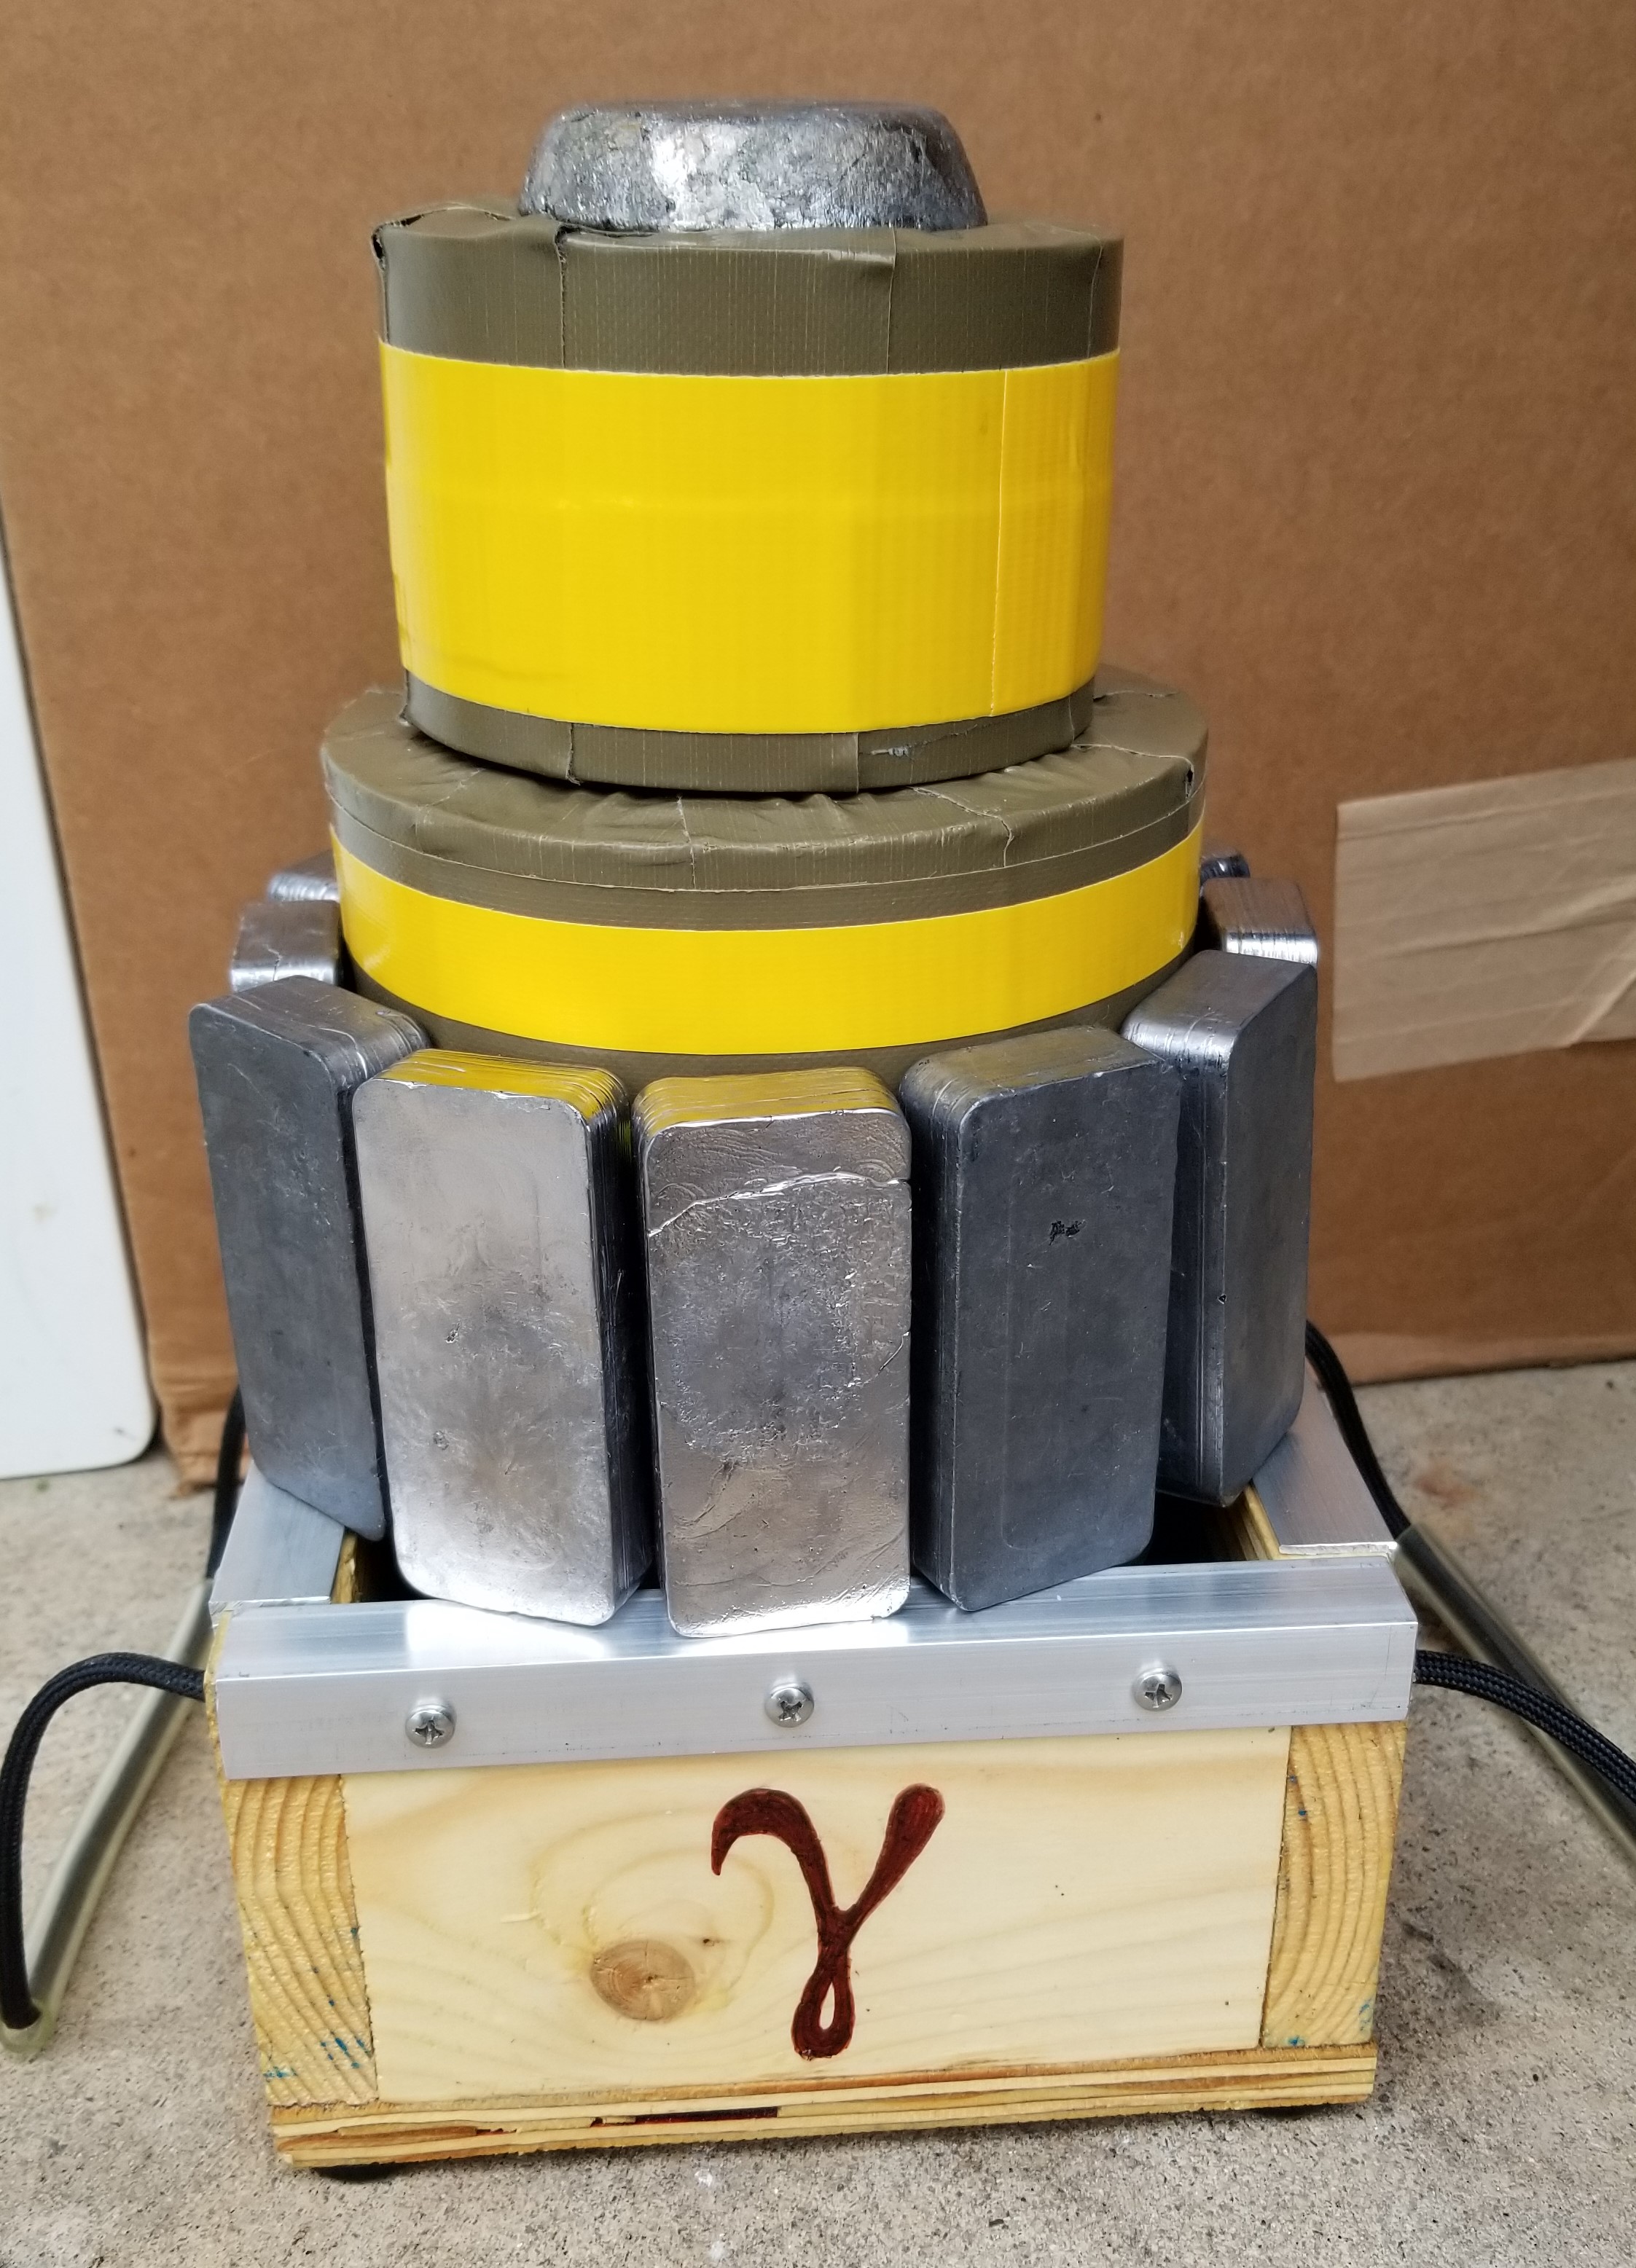
The whole sample holder will be placed in a small lead castle made out of 1" thick lead bricks - all around, overlapping a bit the bottom of the probe shield.
Start to finish it took about an hour to complete the cast.
There is a plenty of space for an aluminum or copper insert around the probe.
I used the cast from my first attempt and filled the bottom of the hole with about 500g of molten lead, creating an improvised "lead pig" for larger samples.

this is what it looks when both pieces are put together.